Airbnb Photography: A Host's Guide to More Bookings
By the Plotpane Editorial Team · Published June 10, 2026
Guests decide whether to book your place in about the time it takes to scroll past a thumbnail. Before they read your description, scan your reviews, or even register the price, they look at your photos — and they judge fast. That makes Airbnb photography the single highest-leverage piece of marketing you control as a host.
The good news: you don't need a $2,000 camera or a hired crew to clear the bar. You need a clean space, the right light, the phone already in your pocket, and a repeatable process. These Airbnb photography tips cover exactly that — the shot list guests want, how to stage and light each room, whether to shoot on a phone or a camera, and how to finish with a bright, consistent gallery that wins the search grid.
Quick Summary: Great Airbnb photos follow a simple formula — declutter and stage, shoot horizontal in natural light, capture every room plus amenities and the view, then edit for a bright, consistent look. Airbnb's own 2024–2025 data shows listings using professional-quality photography saw a 19% net uplift in bookings and a 21% rise in host earnings. You can reach that quality bar with an iPhone — and the same fundamentals carry over to any short-term rental listing.
Why Airbnb photography decides who books
Watch how you behave in the app: you thumb through a grid of cover photos and tap only the ones that look bright, spacious, and inviting. Listings that read as dim or cluttered never get the click. Airbnb says photos are one of the top three things guests weigh when choosing where to stay.
The money case is documented in Airbnb's own first-party numbers. Across more than 14,700 global listings studied from 2024 to 2025, Stays listings that used Airbnb Professional Photography saw a 19% net uplift in bookings and a 21% increase in host earnings over the following year — and 85% of hosts recouped the cost of the shoot within a single night's stay. (Airbnb is clear that results vary by listing and aren't guaranteed.) Independent research agrees: a peer-reviewed study of Airbnb listing images found photo quality to be one of the most decisive factors in booking demand.
Here's the part most hosts miss: those gains come from the quality of the photos, not the photographer's business card. A professional shoot is one way to clear the bar. A disciplined DIY shoot is another. Either way, your cover photo and first few images carry the listing — so that's where your effort pays off most.
The Airbnb photo shot list guests actually want
A complete gallery answers every question a guest has before they ask it. Airbnb's photography team recommends three to five images of each room guests can access; in practice, most strong sets of Airbnb listing photos run 20–30+ shots. Capture everything horizontally in a 3:2 ratio and upload at full resolution (Airbnb's minimum is 1200×800 pixels — bigger is better). Here's the shot list, in order of impact.
Cover photo: the shot that wins the grid
Lead with your single best feature — the sunlit living room, the view, the pool — bright, wide, and clutter-free. Then shrink it to thumbnail size on your phone. If it still makes you want to step inside, it's a winner.
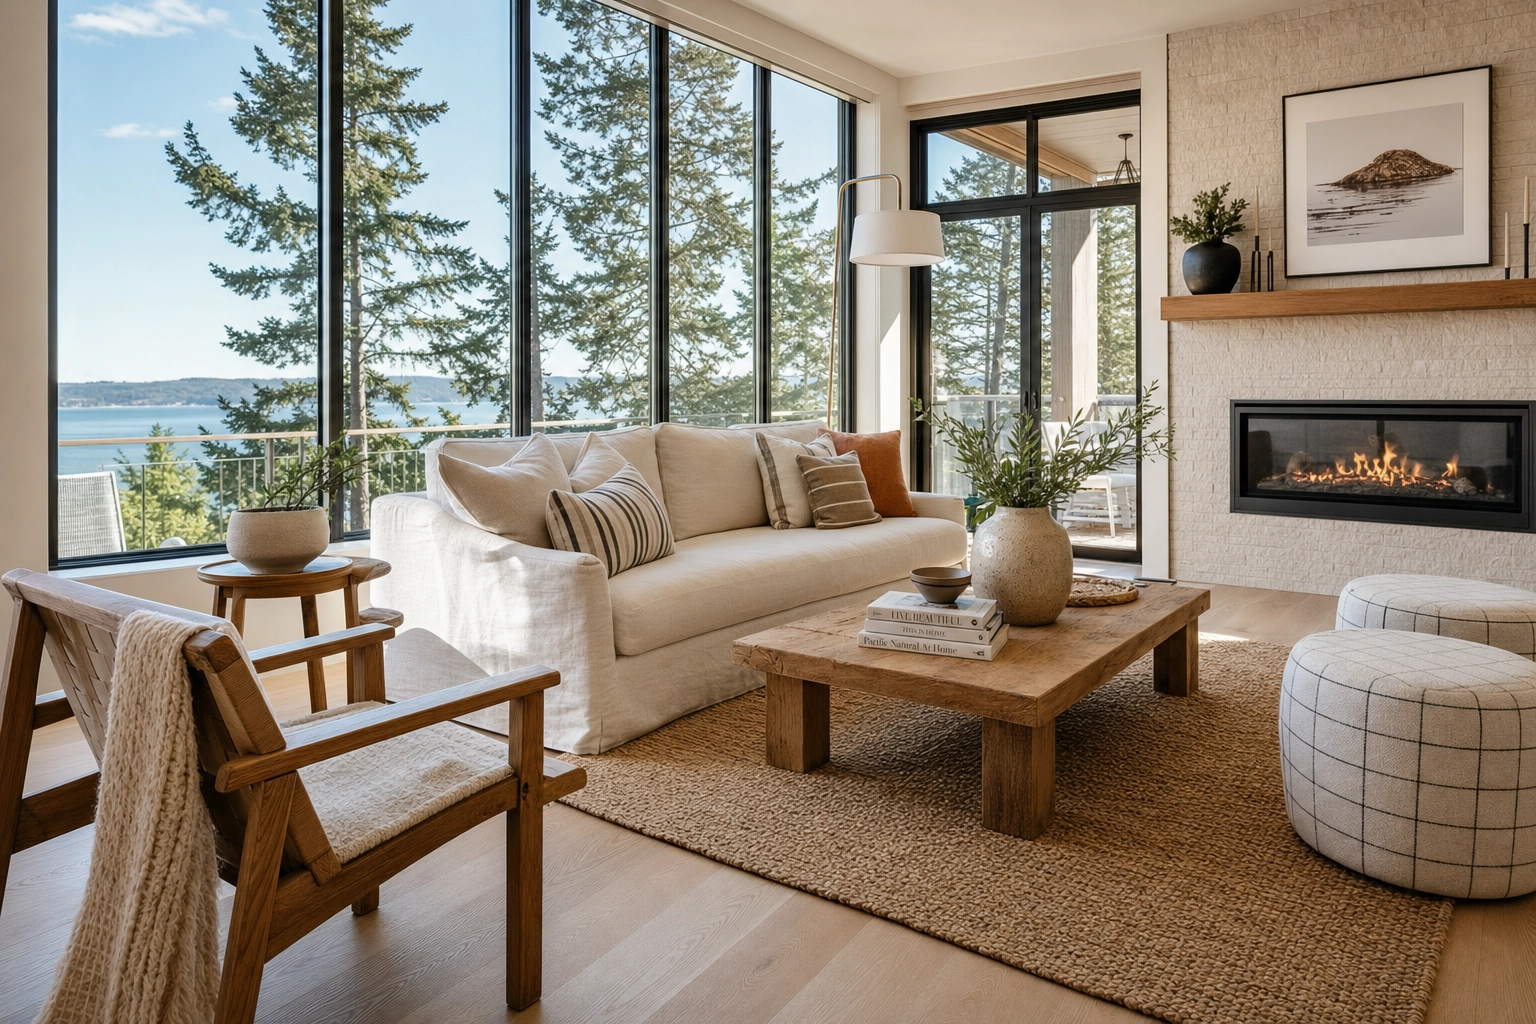
Living spaces
Shoot from a corner at roughly chest height to show depth and how the room flows. Keep it bright and uncluttered so guests picture themselves relaxing there, not tidying up.
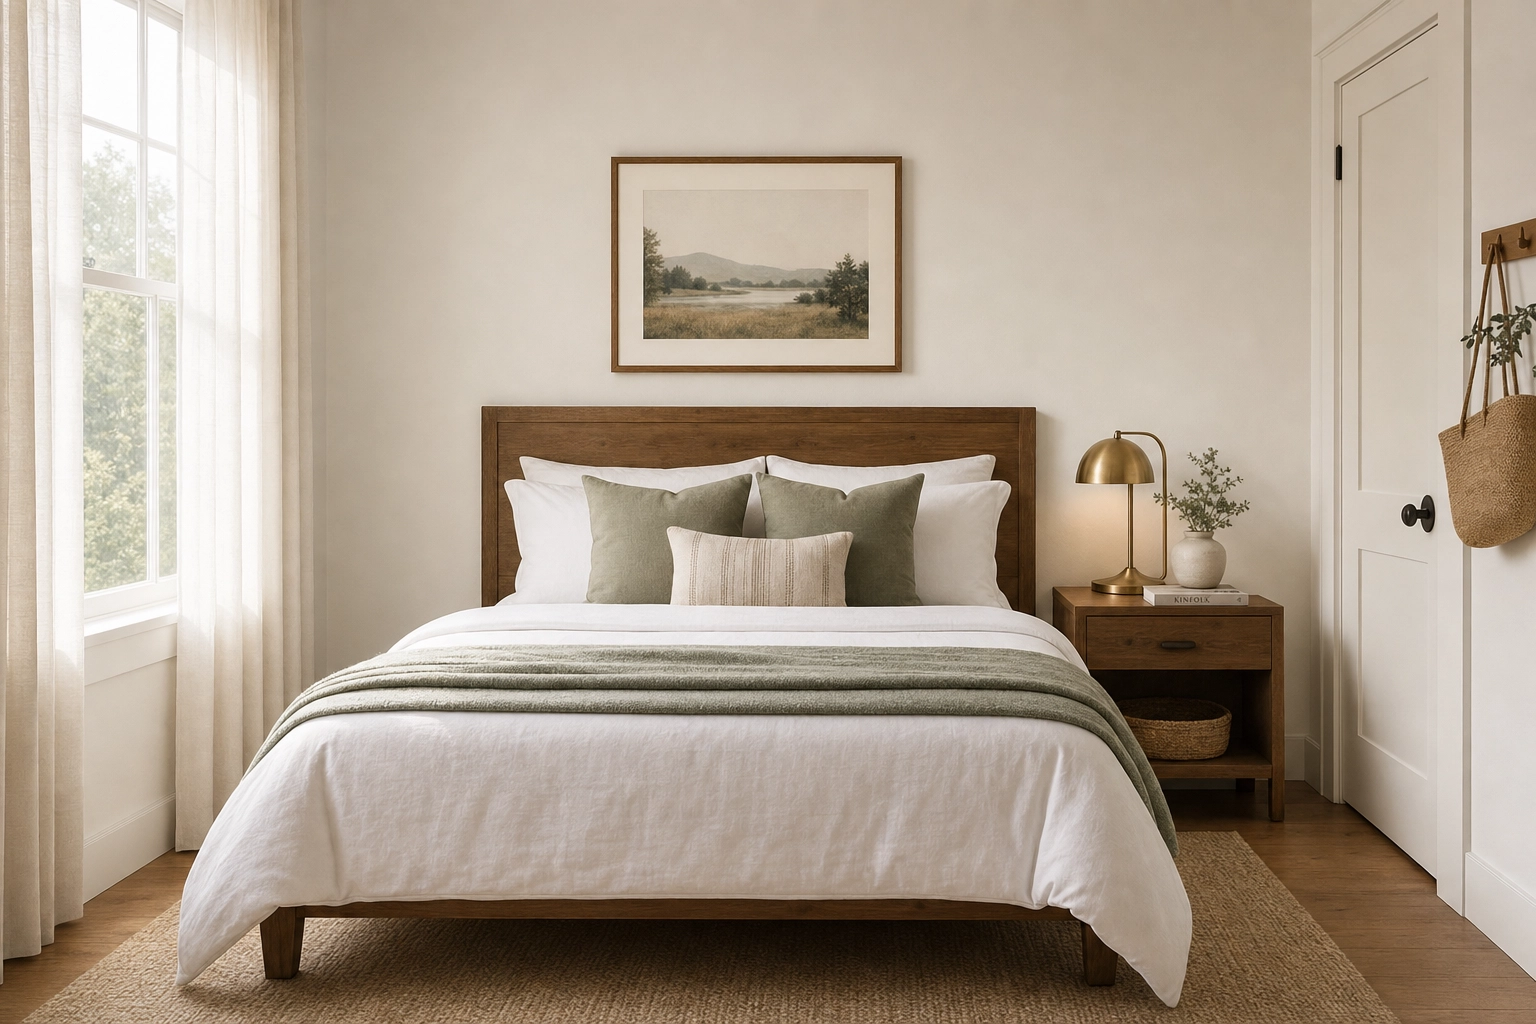
Bedrooms
Beds made, linens crisp, pillows symmetrical, one throw for texture. A tidy bedroom signals a well-run home. Captions help guests learn what a photo can't show — "king bed, blackout curtains."
Kitchen
Self-caterers scrutinize kitchens. Clear the counters, then show the cooktop, the coffee setup, and enough workspace to actually cook. A little negative space reads as "room to breathe."

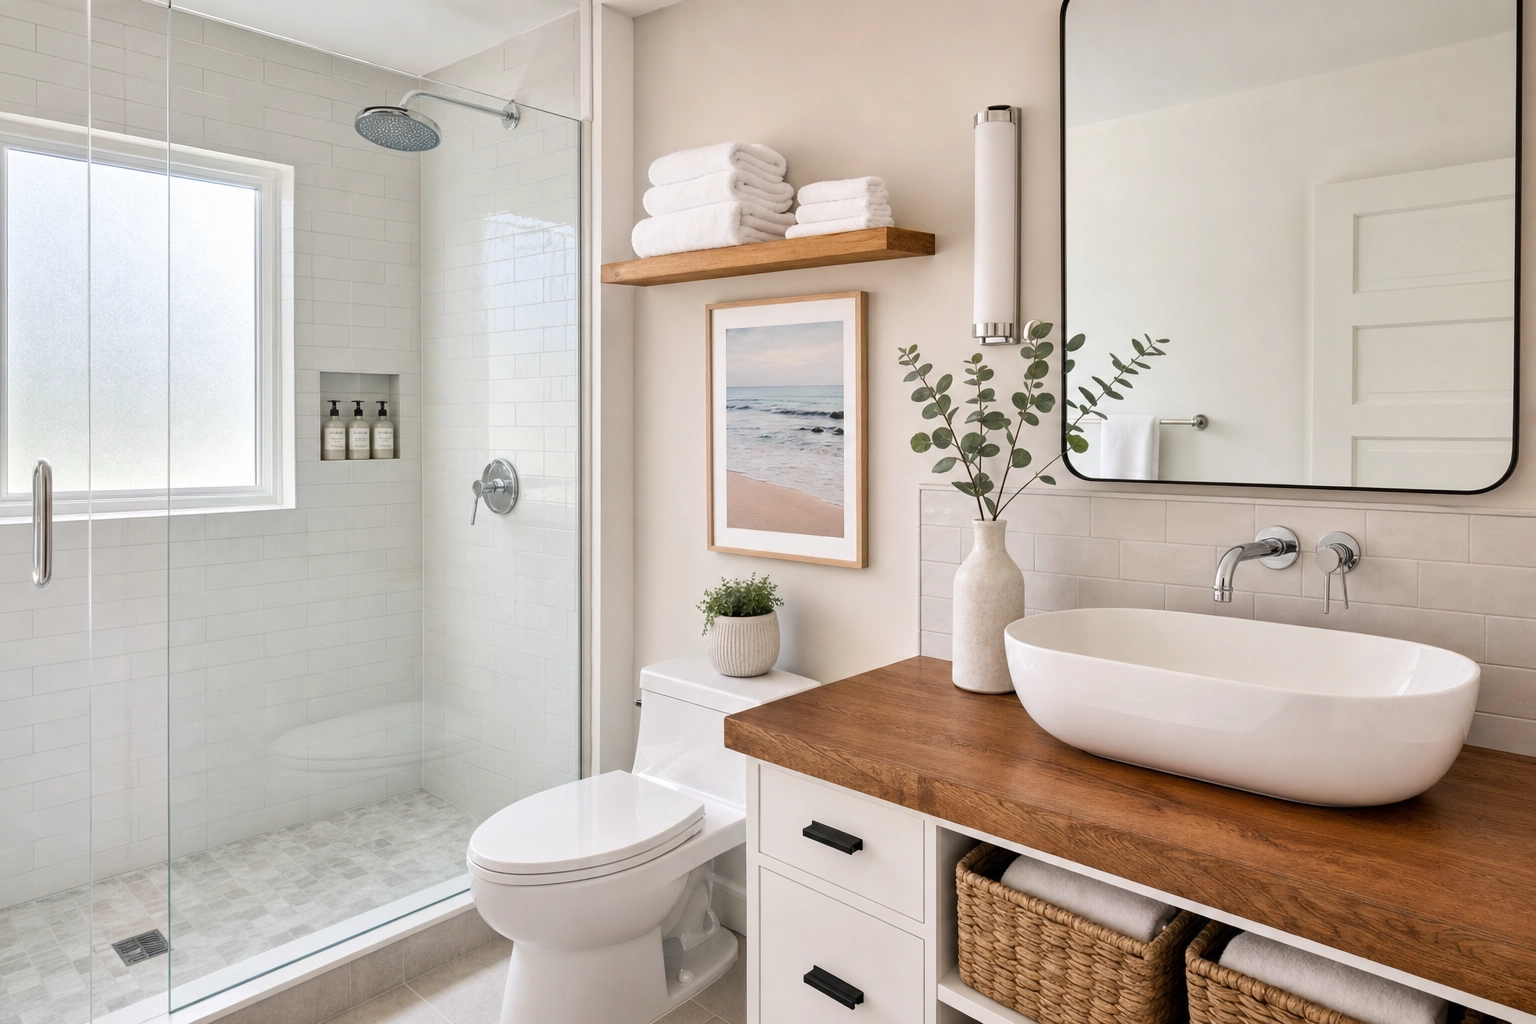
Bathroom
Clean, bright, and honest. Capture the shower or tub and the sink, hang fresh folded towels, and wipe every mirror and faucet — reflections expose fingerprints and clutter you'll never notice in person.
Amenities and reassurance shots
These quietly close the booking: the workspace and Wi-Fi nook, washer and dryer, parking spot, keyless entry, AC unit, grill, or gym. They answer the practical "but does it have…?" questions that cause hesitation.
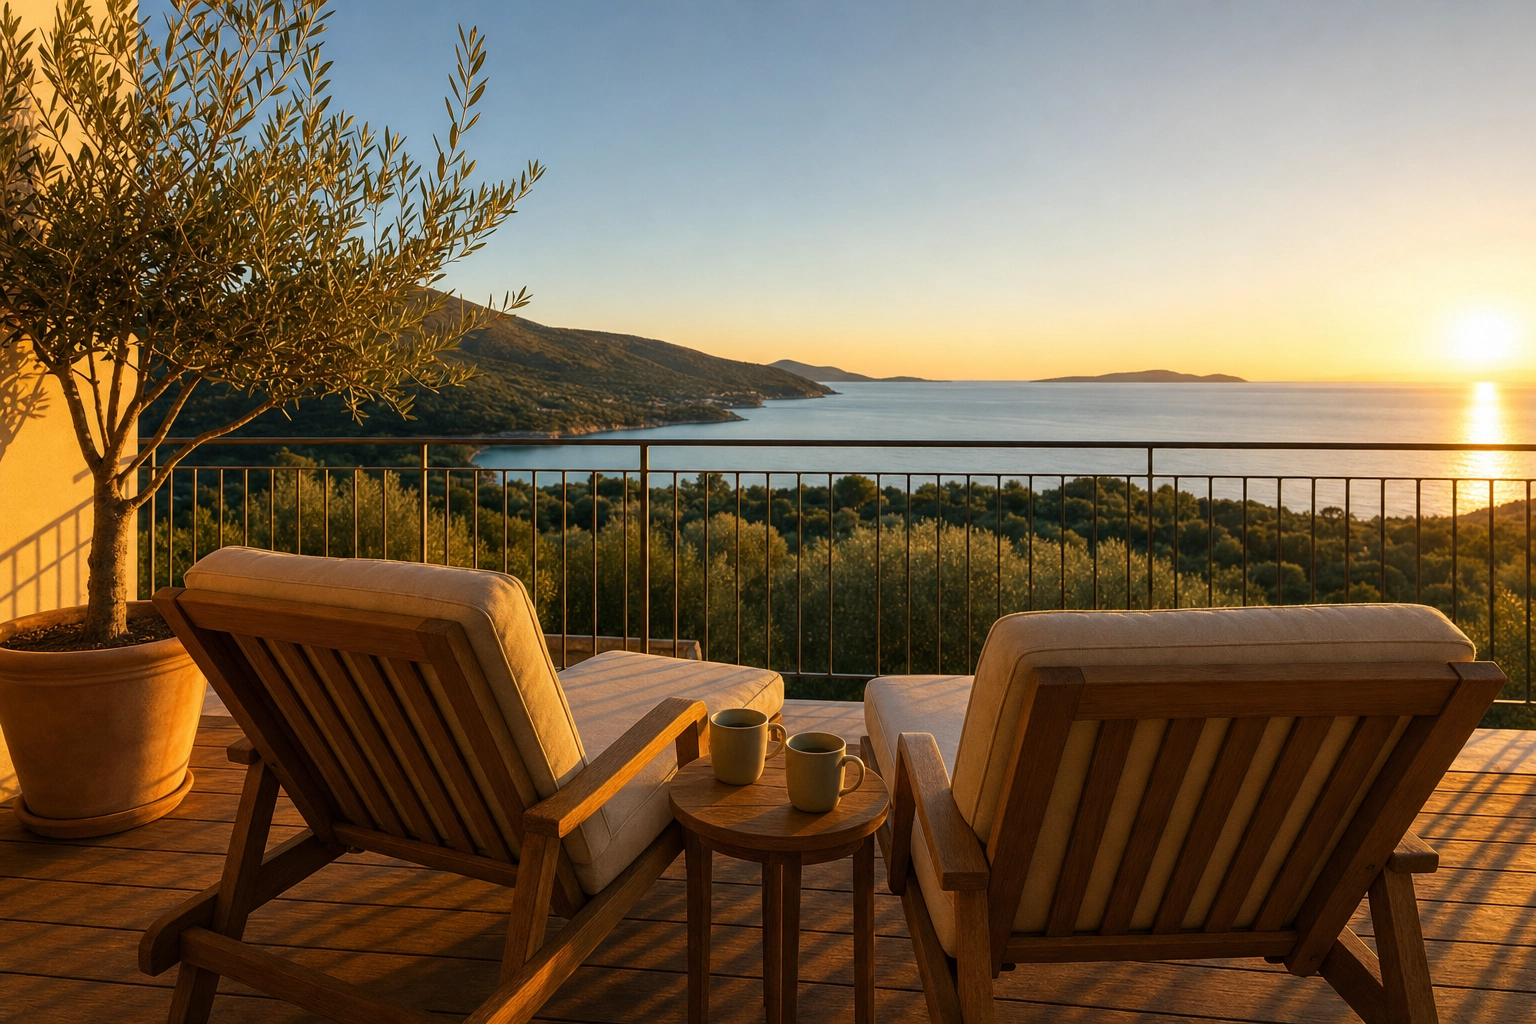
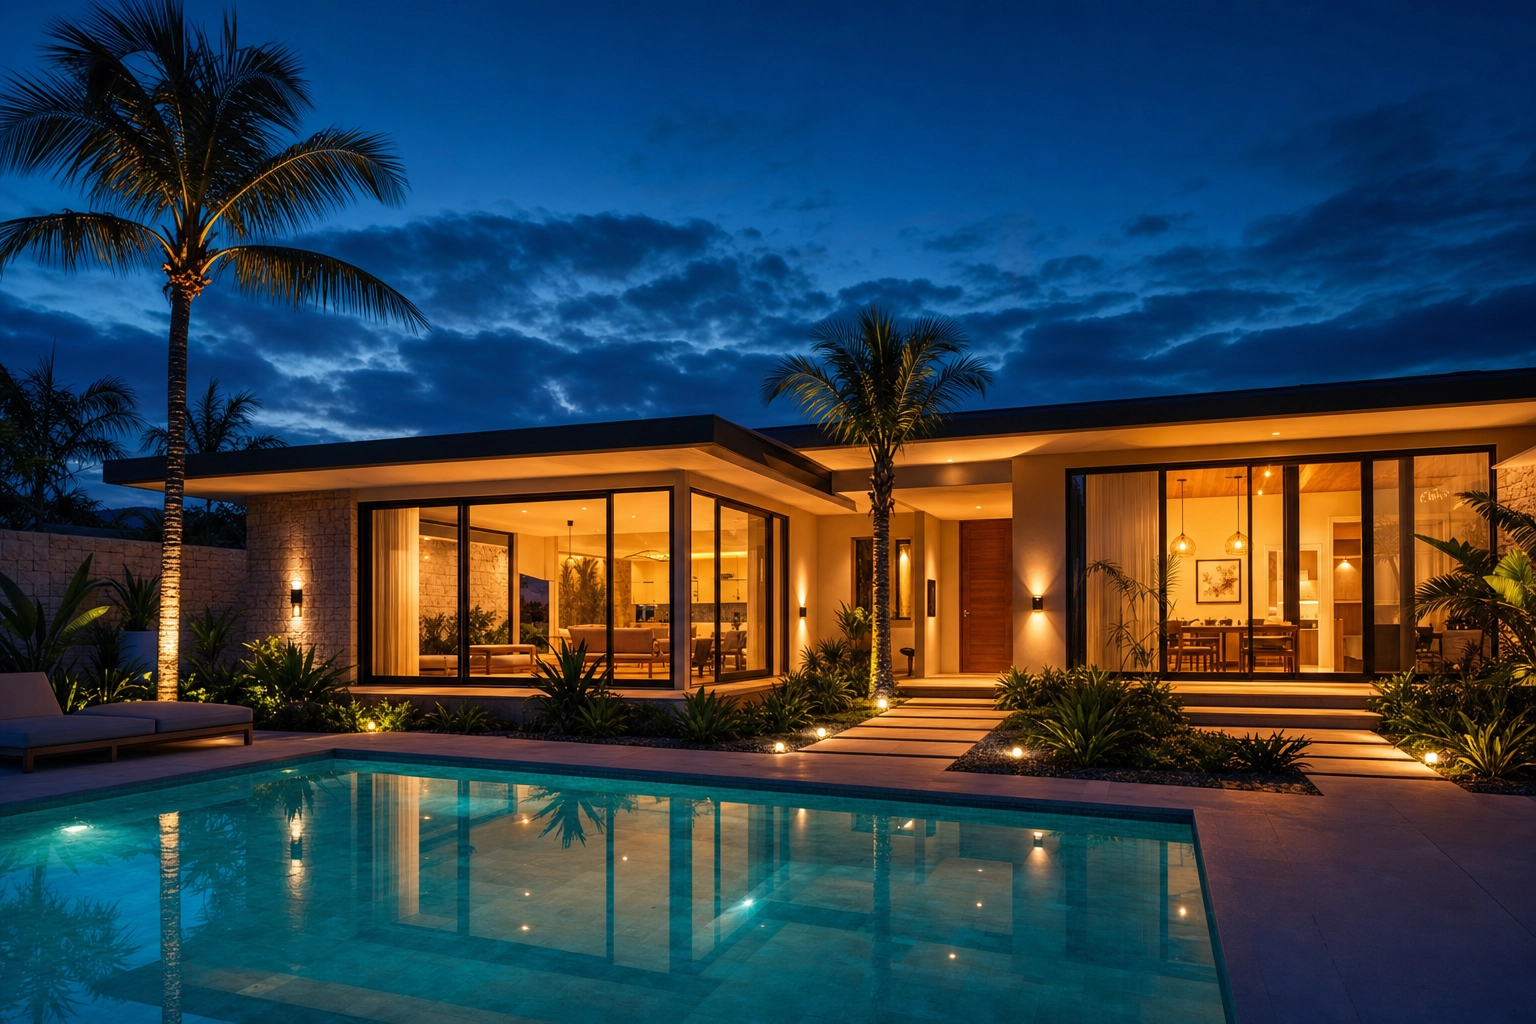
Exterior, outdoor space, and the view
Shoot the façade and entrance so guests recognize the place on arrival, then the patio, balcony, garden, or pool. Frame the view from inside a window or out on the balcony, and save exteriors for golden hour — the 60 minutes after sunrise or before sunset. For homes with land, acreage, or a standout rooftop, a drone or aerial shot can make a memorable cover image.
Stage the space before you shoot
Great Airbnb photography starts before you ever pick up the phone. Staging beats editing every time: no amount of post-processing turns a messy room into a clean one, so spend your prep time here.
Start with a deep clean and a ruthless declutter. Clear kitchen and bathroom counters down to one or two intentional objects. Put away personal photos, toiletries, charging cables, pet bowls, and the random stuff that lives on every surface. Make every bed, fluff the cushions, straighten lampshades, close toilet lids, and tuck cords out of frame.
Then add a few lifestyle touches that sell the experience rather than the square footage: a table set for two, a throw draped over the sofa arm, fresh towels rolled on the bed, a coffee mug beside the machine. You're showing guests the stay they'll have, not just the walls they'll rent. Keep it believable — over-styling a small studio to look like a magazine spread sets expectations you can't meet at check-in.
Lighting: your biggest free upgrade
Light is the difference between "cozy" and "cave." Make natural light your primary source and shoot each room when it gets the most daylight — east-facing rooms in the morning, west-facing in the afternoon, north-facing rooms anytime.
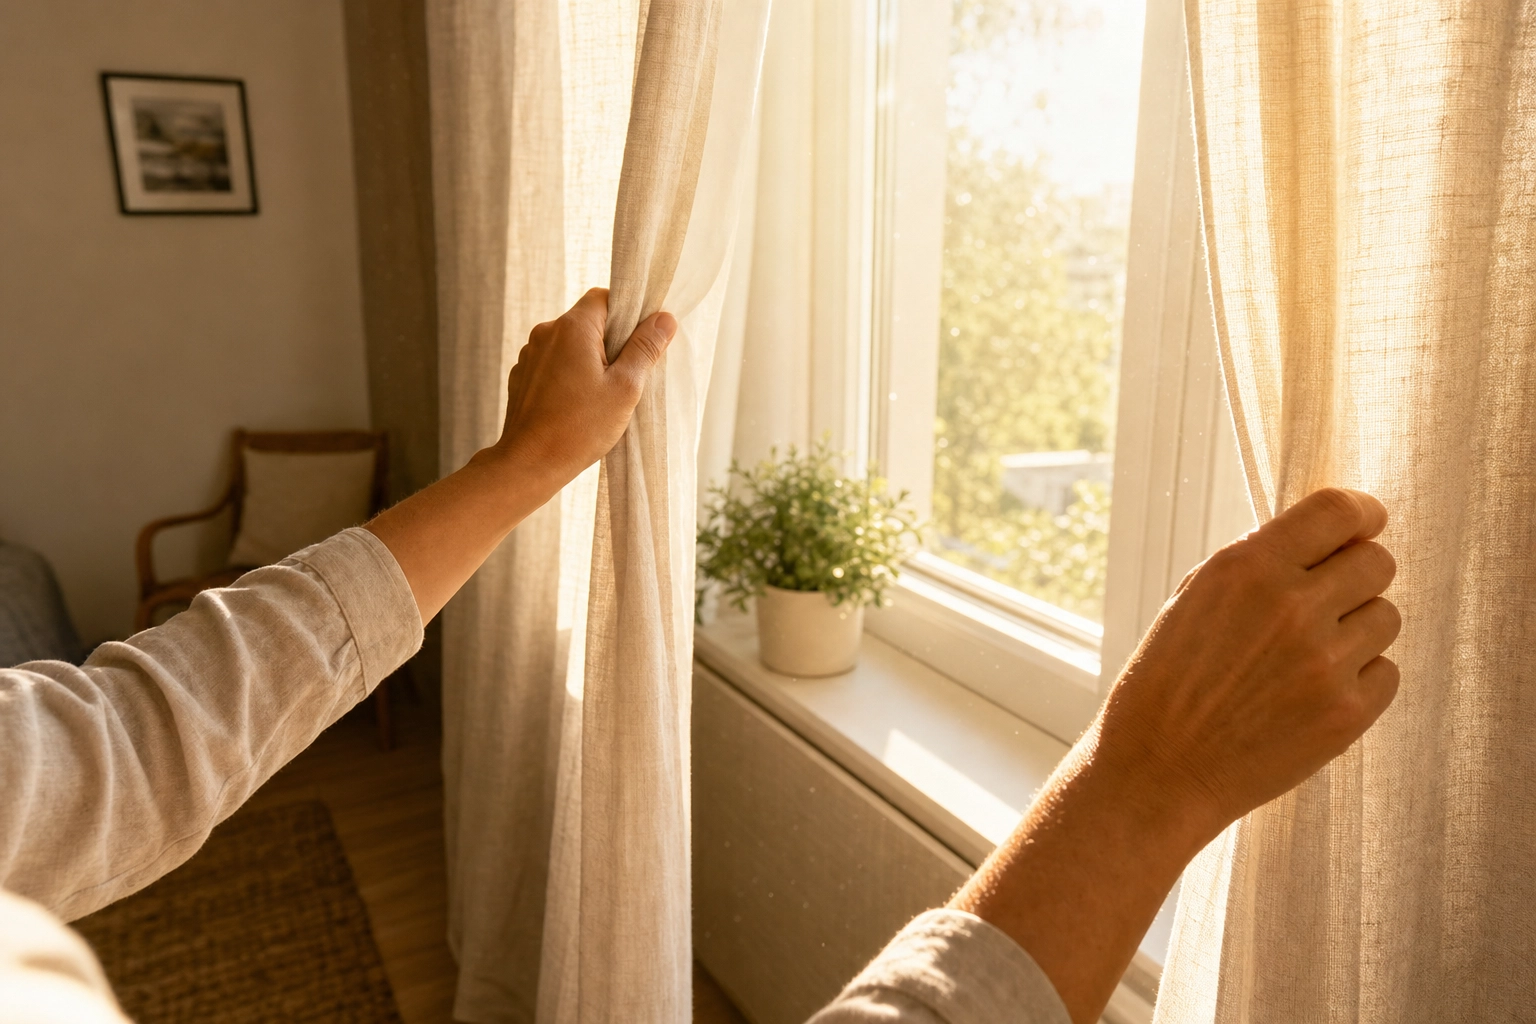
Open every blind and curtain, and turn the flash off — on-camera flash flattens a room and throws ugly shadows. If a space is still dim after you've maxed out the daylight, switch on the lamps and overhead lights to fill it in. Bright-overcast days are easy mode because the light is soft and windows don't blow out. In full sun, shoot each room while the sun is off its windows to avoid hot spots.
The classic trap is exposure: meter for the bright window and the room goes dark; meter for the room and the window blows to white. A modern phone's HDR handles most of this automatically, and anything left over is exactly what automatic Auto Enhance is built to balance after the fact.
Phone vs. camera for Airbnb photos
Short answer: the phone in your pocket is enough. Airbnb's own host guidance is blunt about it — a smartphone can capture compelling listing photos, and most hosts shoot on one. A modern phone's computational HDR is genuinely good at the window-versus-interior exposure problem that used to demand a DSLR and bracketing, and its wide lens covers tight rooms a standard camera lens can't.
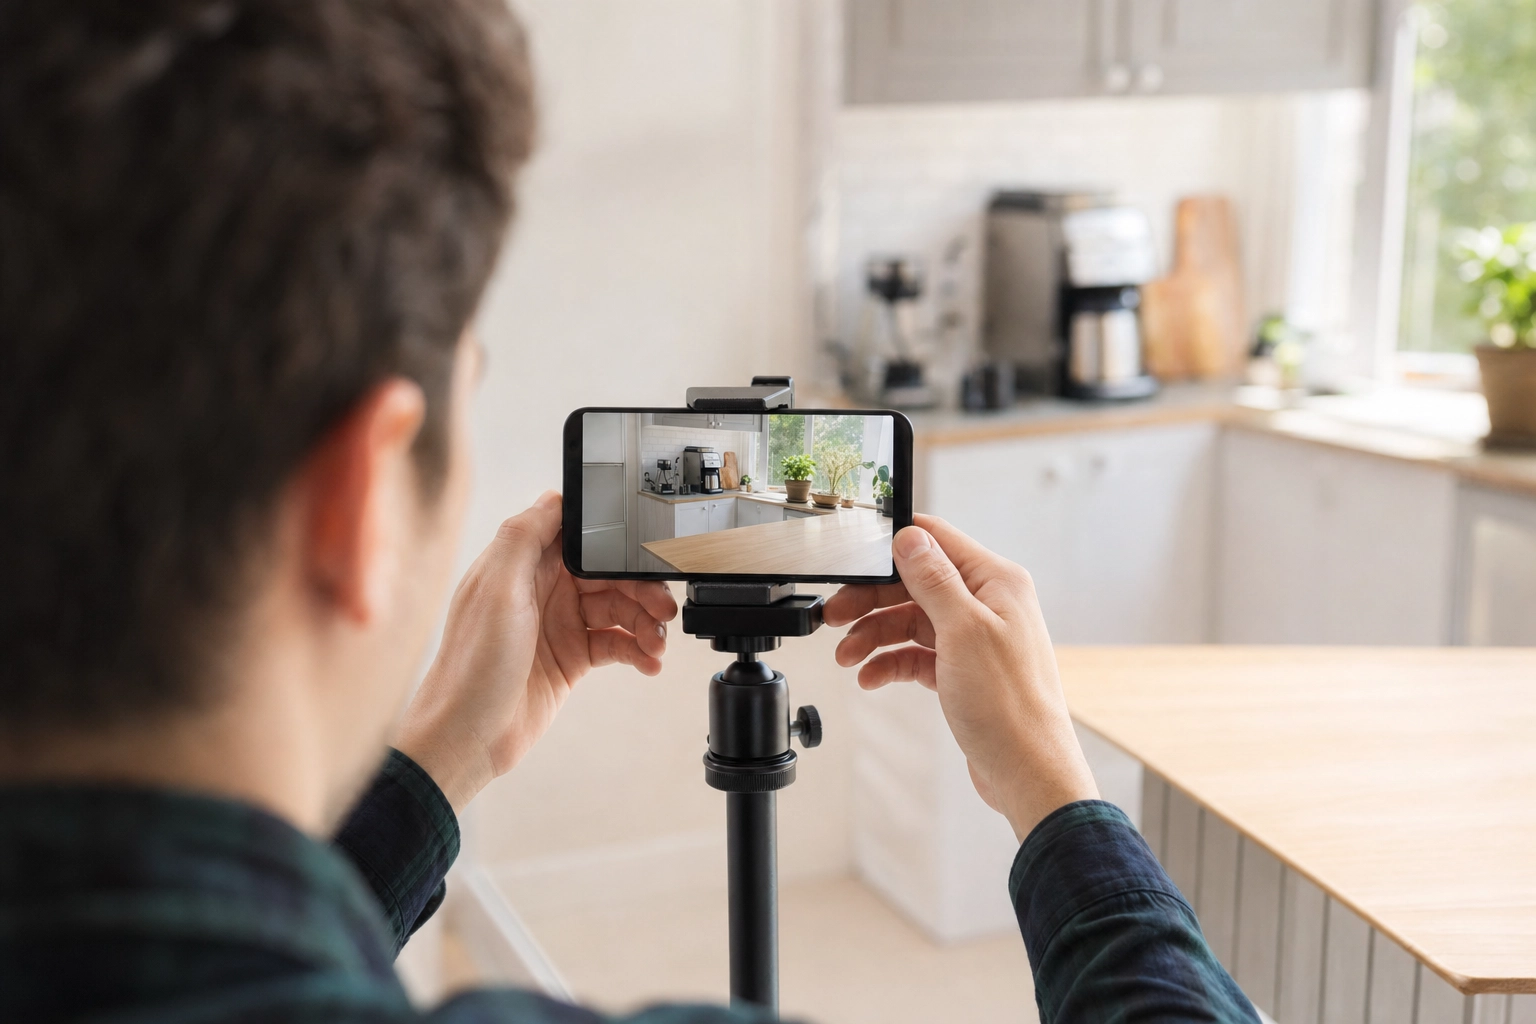
A dedicated camera earns its place in a few cases: very large or luxury homes, when you need an ultra-wide rectilinear lens without phone-style edge distortion, or low-light twilight exteriors on a tripod. For most hosts, technique beats gear. Shoot horizontal, turn on the grid, keep the horizon level, tap to set exposure (protect those window highlights), brace against a doorframe or use a small tripod, and shoot from chest height with the lens pointed straight ahead — not tilted up or down. A phone used well beats a camera used badly, every time.
Editing: bright, honest, and consistent
Editing is where good phone photos become professional-grade listing photos — but the goal is to enhance, not deceive. Lift the brightness, add a touch of contrast, correct the white balance so whites look white (not yellow or blue), straighten the verticals, and crop to 3:2. Stop there. Over-edited photos that oversell the space lead to disappointed guests and the kind of reviews that sink a listing.
The mistake that quietly costs DIY hosts the most isn't a single bad photo — it's an inconsistent gallery, where every image is a slightly different brightness and color temperature. It looks amateur even when each shot is fine on its own. Pros fix this by grading the whole set to one look.
That's the gap Plotpane closes for hosts who'd rather not live in editing software. Upload your shots straight off the phone — HEIC and iPhone files are supported, alongside JPG, PNG, and RAW — and get back bright, balanced, OTA-ready 4K images in about 90 seconds, with a consistent grade and white balance locked across the entire listing. It's structure-preserving, so it corrects and brightens the real room without inventing walls, windows, or furniture that aren't there — the same honest approach that keeps even tight apartment and condo photos accurate, and your guests un-surprised at check-in. There are no visible watermarks on any export, and your uploads are never used to train AI.
It also makes seasonal refreshes painless. Swap a gray sky for blue with sky swap, tidy a stray bin with clutter removal, straighten a leaning doorway with perspective fix, or turn a daytime exterior into a glowing day-to-dusk cover shot for your summer relaunch — without rebooking a photographer.
One honest guardrail: Plotpane is image-only and listing-only. It doesn't shoot or edit video, it won't generate a fictional property from a text prompt, and it's purpose-built for real estate and short-term-rental imagery — not portraits, products, or general art. You still write your captions and handle any platform disclosures. (For the science behind why twilight cover shots convert, see the day-to-dusk research.)
How to take Airbnb photos: a 7-step workflow
Put it all together and the process is short:
- Deep clean and declutter every room and surface you'll photograph.
- Plan your shot list room by room so you don't miss the bathroom, the amenities, or the view.
- Wait for the right light — shoot each room at its brightest, flash off, lamps on only to fill shadows.
- Shoot horizontal and straight from chest height, grid on, level, lens pointed dead ahead.
- Capture everything — cover shot, living spaces, every bedroom and bathroom, kitchen, amenities, exterior, and the view.
- Edit for bright and consistent — adjust brightness, contrast, and white balance by hand, or batch the whole set to one grade so the gallery matches.
- Order the gallery with your strongest image as the cover, sequence the rest like a walkthrough, and add a short caption to each.
Need a broader primer on listing imagery beyond Airbnb? Our listing photo guide covers the fundamentals that help on every platform.
Common Airbnb photo mistakes to avoid
Even good hosts lose bookings to a few repeat offenders. Scan your gallery for these before you publish:
- Shooting vertical. Portrait photos get awkwardly cropped in the search grid — always shoot horizontal.
- Dark, flat rooms. Skipping natural light or firing the flash makes a space look smaller and dingy.
- A cluttered frame. Cables, toiletries, dishes, and bins pull the eye away from the room itself.
- Crooked verticals. Tilting the camera bends doorways and walls; keep the lens level and shoot straight on.
- An inconsistent gallery. Mismatched brightness and color temperature across photos reads as amateur.
- Too few photos. Missing the bathroom, the kitchen, or a key amenity makes guests assume the worst.
- Over-editing. Heavy filters, oversaturated colors, and fake skies set expectations you can't meet — and invite bad reviews.
Frequently Asked Questions
Do I need a professional photographer for my Airbnb?
No — you need professional-quality photos, which isn't the same thing. Airbnb's 19% booking uplift comes from image quality, and a clean, well-lit, well-edited DIY shoot can match it. Hire a professional if your property is high-end, hard to light, or you simply don't have the time; otherwise a phone and this workflow will do.
Can I take good Airbnb photos with my iPhone?
Yes. Airbnb says most hosts shoot on a phone, and modern iPhones handle the tricky bright-window exposure well. Shoot horizontal, keep it level, use natural light, and finish with consistent editing. Plotpane accepts iPhone HEIC files directly if you want the brightening and color-matching done automatically.
How many photos should an Airbnb listing have?
Aim for roughly 20–30 or more. Airbnb's photography team suggests three to five images of every room guests can access, plus shots of amenities, the exterior, and the view. Enough photos to tell the full story builds confidence; too few makes guests assume you're hiding something.
What is the best photo size and aspect ratio for Airbnb?
Shoot in a 3:2 ratio, horizontally. The search grid crops to squares and the listing page displays in landscape, so verticals get awkwardly cropped. Upload at high resolution — Airbnb's minimum is 1200×800 pixels, and larger files (up to ~10 MB) look sharper on big screens. Plotpane outputs up to 4K (3840×2160).
How often should I update my Airbnb listing photos?
Refresh whenever you change the décor or furniture, and consider seasonal updates — a sun-drenched summer cover, a cozy winter one. New lead images can lift click-through, and swapping a season or a sky is a quick edit rather than a full reshoot.
Is it okay to edit or enhance my Airbnb photos?
Yes, as long as you enhance rather than mislead. Adjusting brightness, contrast, white balance, and straightening is standard and expected. What you should avoid is editing that changes the actual space — removing permanent fixtures or faking a view. Structure-preserving tools brighten and color-correct the real room without altering what guests will actually find.
Your Airbnb listing photos are the storefront for your rental — fix them and the clicks, bookings, and nightly rate tend to follow. That's the real goal of Airbnb photography: not artsy shots, but bright, honest, consistent images that help guests say yes. Shoot it yourself with the steps above, then let Plotpane handle the bright, consistent finish in about 90 seconds a frame — the same polish across every photo in your portfolio, on Airbnb or any short-term rental platform. See how it works on the short-term rental solution page or jump straight to Airbnb photo editing, and compare our three plans when you're ready.