Exterior Real Estate Photography: Curb Appeal That Sells
By the Plotpane Editorial Team · Published June 8, 2026 · Last updated June 8, 2026
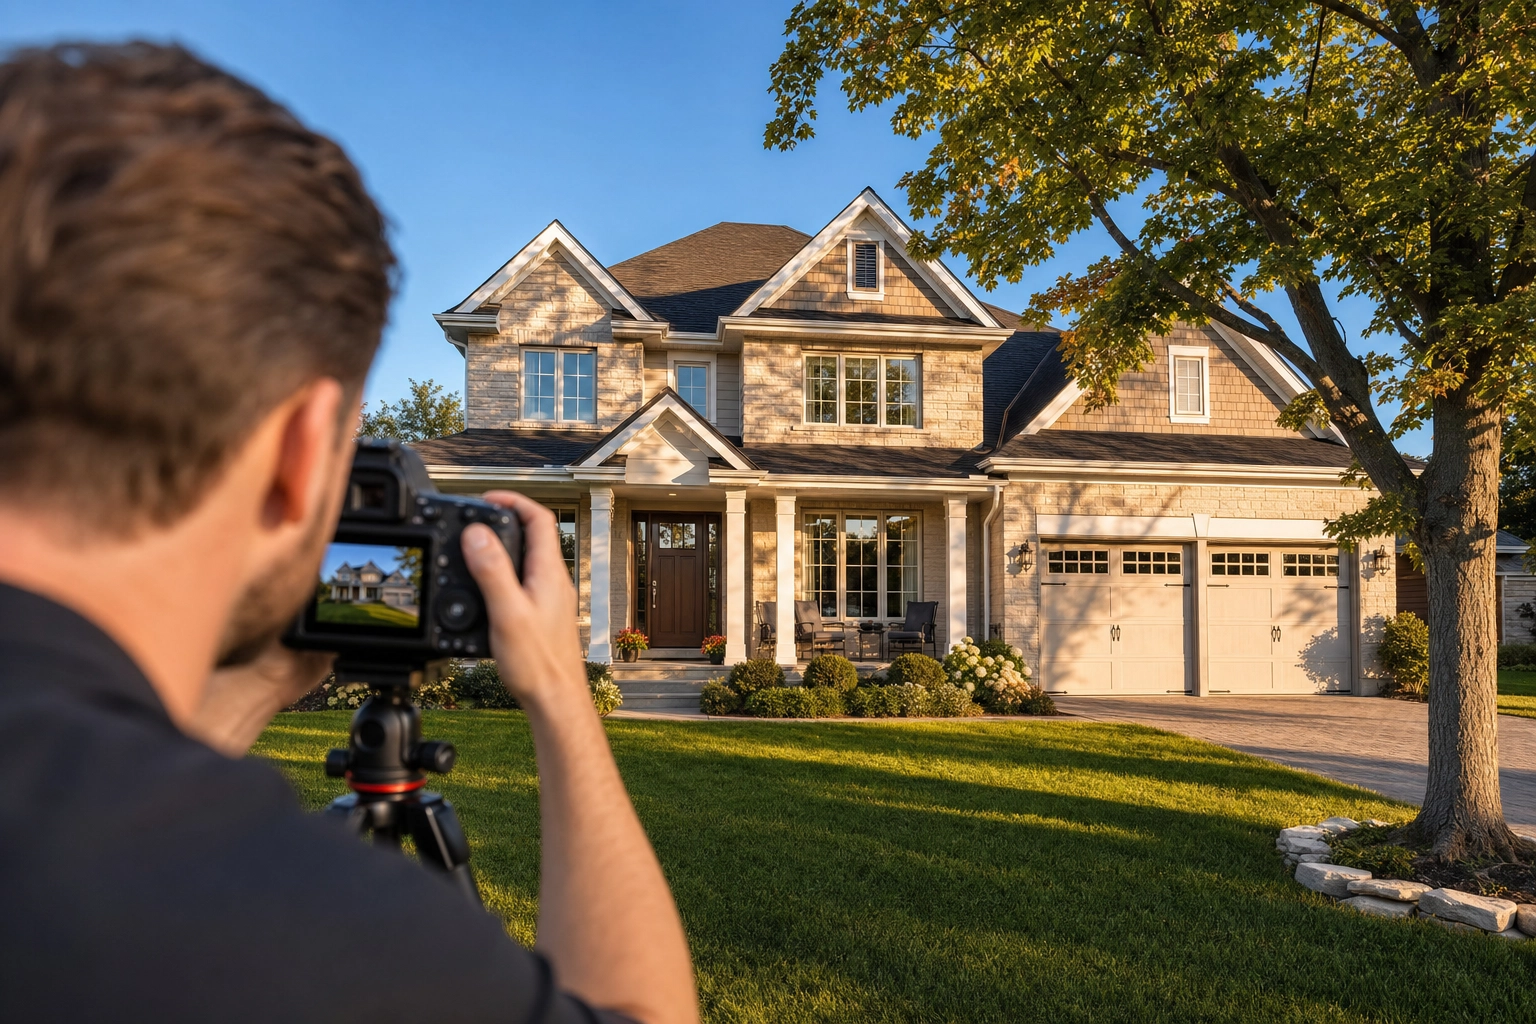
A buyer's first impression of your listing isn't the kitchen or the price — it's the exterior. That one photo becomes the thumbnail on Zillow, the cover shot on the MLS, and the image a buyer forwards with "what about this one?" Exterior real estate photography is the craft of making that single frame work hard enough to earn a click.
Get it wrong — a leaning façade, a white sky, a minivan in the driveway — and buyers swipe past. Here's how to shoot clean, professional exterior shots, then fix the ones where weather or a deadline ruined the shot.
Quick Summary: Shoot the sunlit face of the house at golden hour, keep your verticals straight, frame the full elevation, and clear the driveway before you press the shutter. When light or season won't cooperate, structure-preserving edits — Sky Swap, Lawn & Pool Revive, Perspective Fix, Auto Enhance, and Day to Dusk — fix the frame without moving a wall or window.
Why the exterior shot decides whether buyers click
The exterior is the storefront window for the whole property. Almost every buyer browses real estate photos online before booking a showing, so the cover image sells the property long before anyone arrives — good exterior real estate photography turns that first impression into a click.
Agents know it. In the National Association of REALTORS® Remodeling Impact Report, 98% of agents said curb appeal is important to a potential buyer, and 92% advise sellers to improve it before listing. The money follows: a 2025 University of Texas at Arlington study found properties with strong curb appeal sell for roughly 7% more than comparable homes — and 10–11% more in slower markets.
Volume matters too. Zillow's research found homes with fewer than nine photos are about 20% less likely to sell within 60 days, with 22–27 the sweet spot. Strong exterior shots fill much of that count.
How to shoot exterior real estate photography in 5 steps
Great exterior shots start on site, before any editing. These five steps are the camera-side moves that separate professional real estate photos from snapshots.
Step 1 — Time the light: shoot the sunlit face
Real estate photography lighting is mostly a scheduling problem. The best window is the hour after sunrise or before sunset — the golden hour — when low, directional natural light wraps the façade and skips midday's harsh shadows.
Shoot the side the sun is hitting; a front elevation in shade looks flat. Check which way the property faces so the sun lands on the front.
Avoid high noon, which blows out the sky and darkens the windows, and skip the on-camera flash. Set a narrow aperture, expose for the brighter sky, and bracket a few frames for a natural HDR blend.
Step 2 — Keep your verticals dead straight
A backward-leaning house is the classic amateur tell — it's called keystoning, and it comes from tilting the camera up to fit the roofline.
Keep the camera level and shoot from chest height; a tripod with a bubble level helps. Step back instead of tilting up. A 24–35mm-equivalent lens captures a wide elevation without ultra-wide distortion.
When verticals still lean — common with quick phone shots — Perspective Fix straightens the walls and levels the horizon automatically (more below).
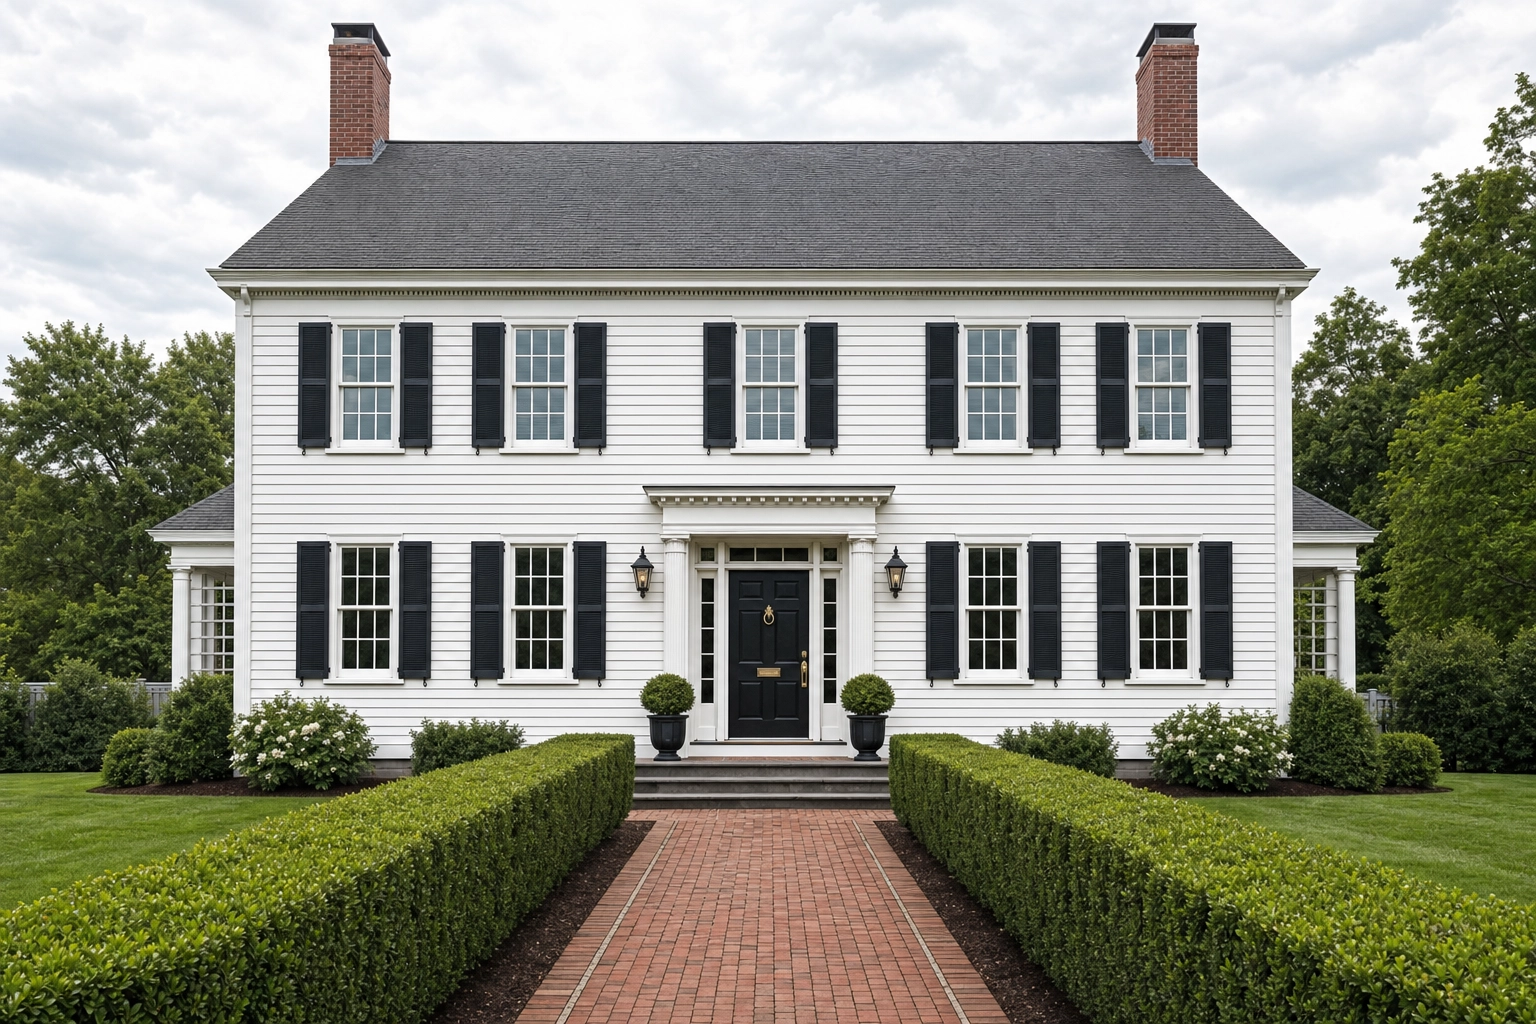
Step 3 — Frame the full elevation
Front elevation photography means showing the whole house with room to breathe — roofline to foundation, with sky above and lawn below. Don't crowd the frame or clip the chimney.
Vary the angle. The three-quarter angle reveals two sides of the house at once for depth; the straight-on front elevation gives a clean, symmetrical composition. Use a 3:2 ratio, and let leading lines — the driveway, a front path — guide the eye to the entrance.
Step 4 — Clear the frame before you click
The fastest way to wreck your curb appeal photos is everyday clutter. Before you raise the camera:
- Move cars out of the driveway and off the street in front of the property
- Roll trash and recycling bins out of view
- Coil garden hoses, stow toys, and clear the porch
- Take down seasonal flags, signage, and sale riders
Shoot early to beat neighbors' cars and delivery vans. For anything you can't move — a parked SUV, a power line, a dumpster down the block — Clutter Removal erases it and rebuilds the texture behind it.
Step 5 — Cover the whole property, not just the front
A complete exterior set tells the whole story. Beyond the front hero, capture:
- Both side approaches and the rear elevation
- The backyard, patio, deck, and outdoor kitchen
- The pool, spa, and water features
- Standout amenities: a view, mature landscaping, a three-car garage
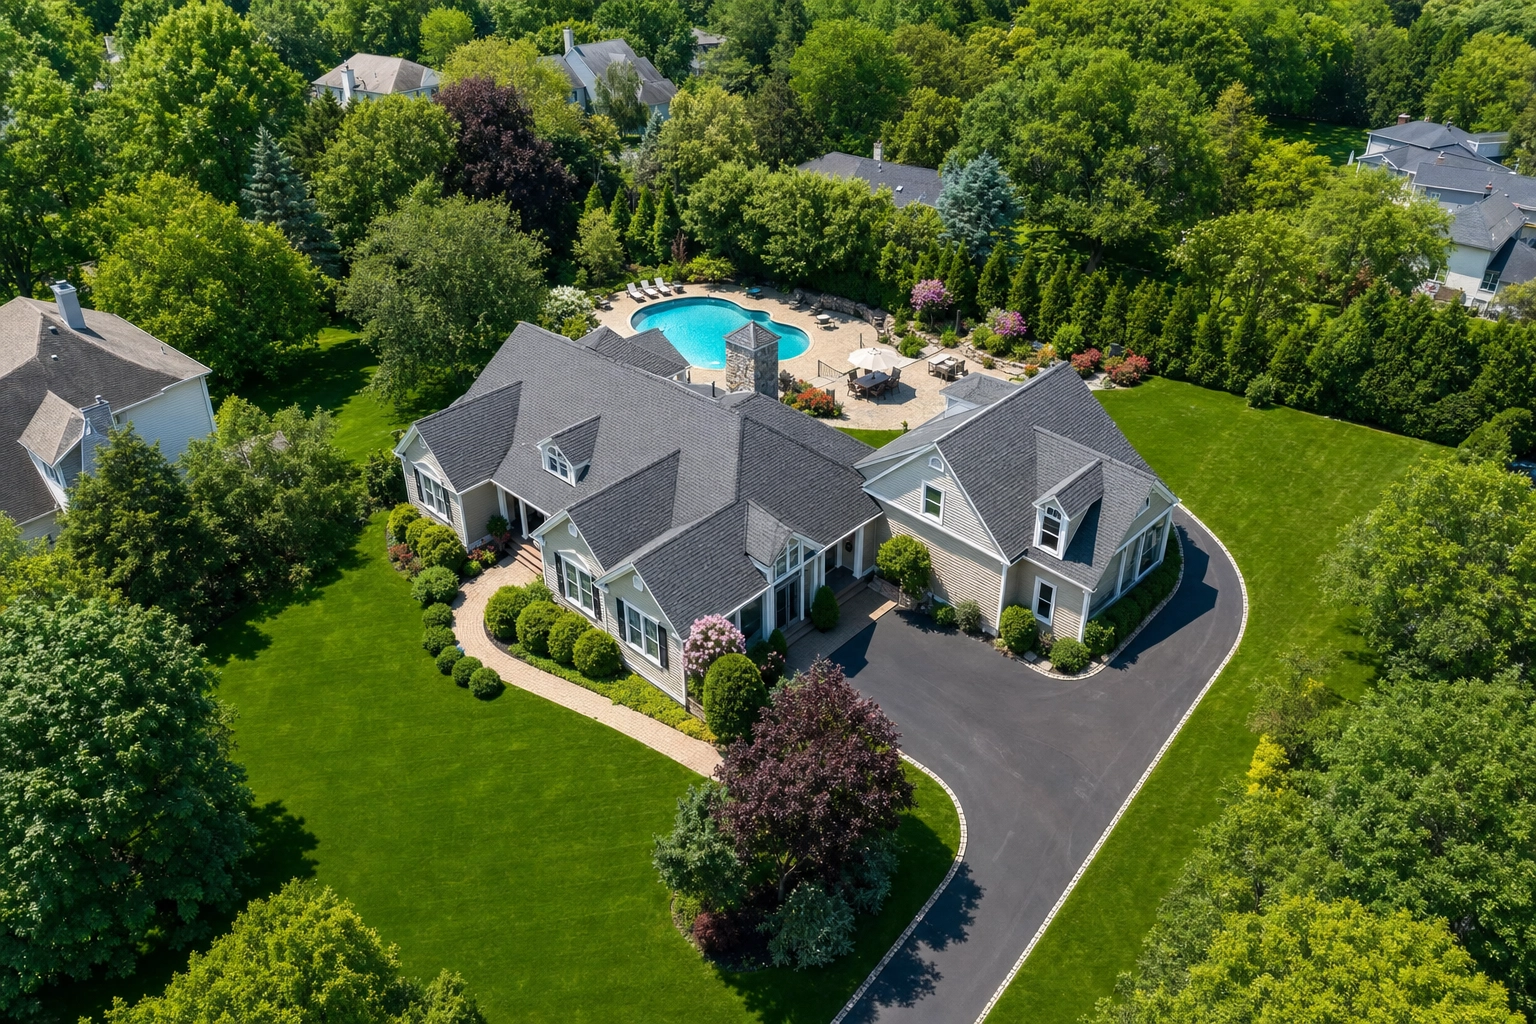
Give each amenity its own frame — buyers pay a premium for these. Drone stills help too, showing lot size, roof condition, and how the property sits; let the exterior claim its share of Zillow's 22–27 photos.
Five exterior problems you fix in post — without moving a single wall
You can't control everything — an overcast sky, a dormant lawn, a 2 p.m. deadline. That's where editing earns its keep, separating an amateur frame from a professional listing image.
Every fix below is structure-preserving. Plotpane re-lights, replaces, and revives, but never reinvents the architecture: walls, windows, rooflines, and floor plans stay as you shot them. Staged output carries invisible XMP disclosure metadata, though you still write the listing-remarks disclosure your MLS requires.
Dull, white, or overcast sky → Sky Swap. A blown-out white sky flattens depth and hides the roofline. Sky Swap drops in a natural blue or soft-cloud sky and color-grades the whole frame to match. It changes the sky only; the house and trees stay exactly as photographed.
Brown lawn or green pool → Lawn & Pool Revive. Winter dormancy, drought, or an off-season shoot leaves grass brown and pools cloudy or green. Lawn & Pool Revive returns the lawn to healthy green and the water to clean blue. It recolors what's already there — it won't add landscaping or a pool that isn't.
Leaning walls → Perspective Fix. If you couldn't level the camera on site, Perspective Fix handles it at the desk. It straightens leaning verticals and a tilted horizon automatically, without stretching or relocating the windows and doors.
Flat, lifeless light → Auto Enhance. Overcast and backlit exteriors come off the card gray and muddy. Auto Enhance corrects exposure, white balance, color, and clarity in one pass, pulling a washed-out sky and a dark façade into a balanced, natural exposure.
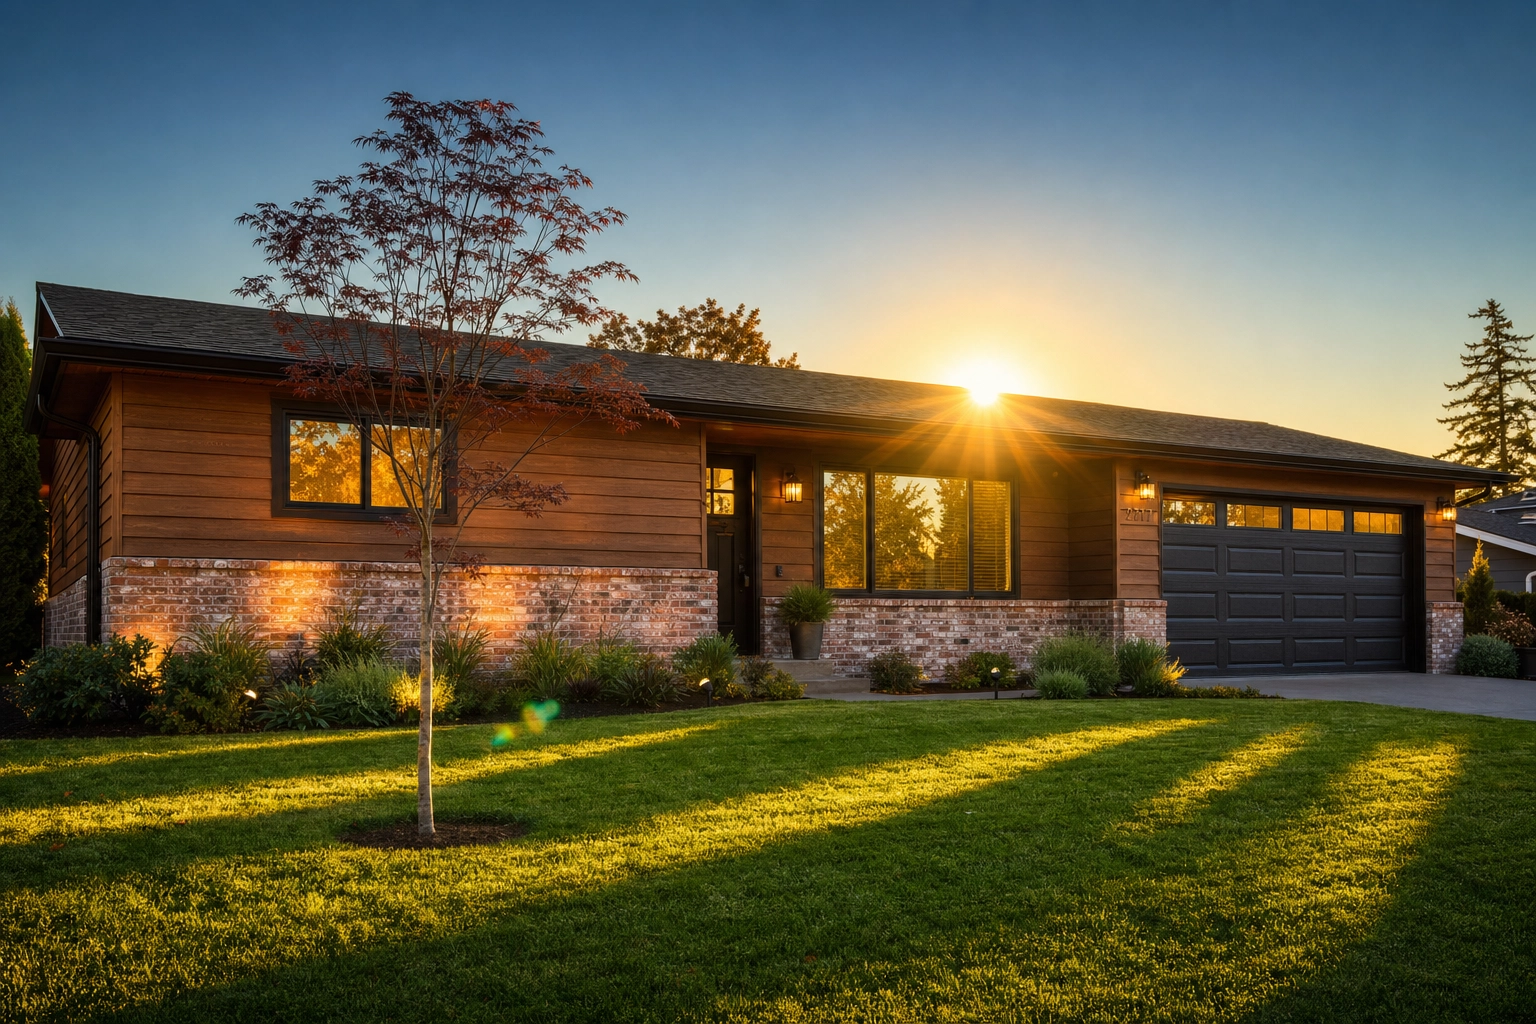
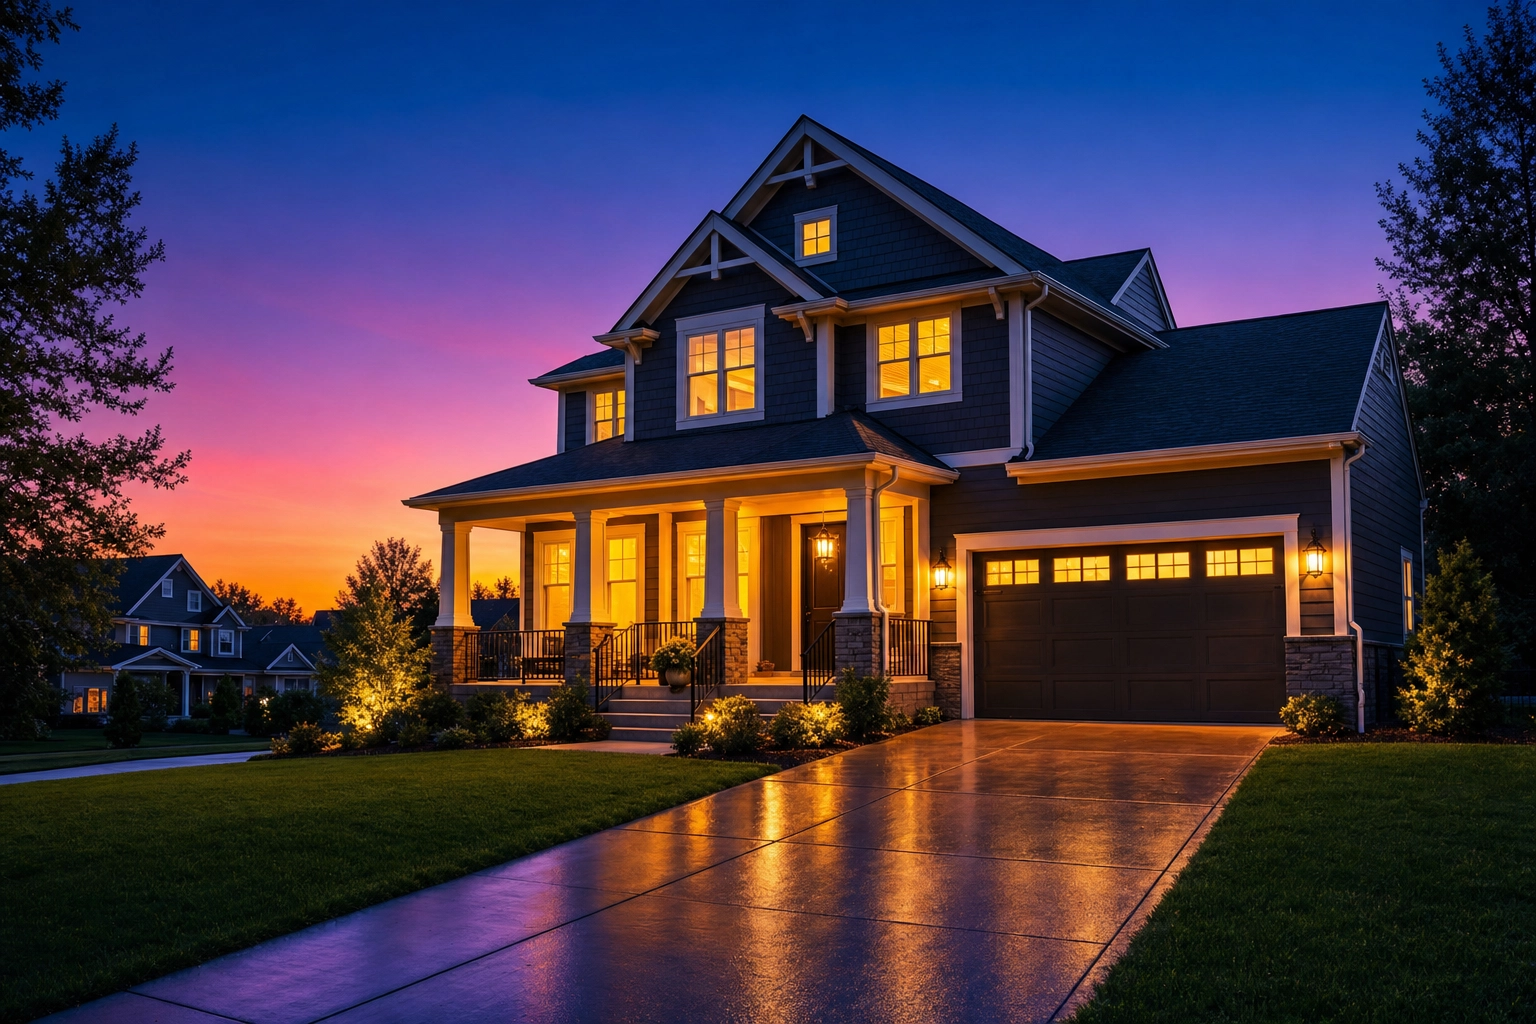
A flat midday hero that needs drama → Day to Dusk. When all you have is a harsh midday frame, convert it to twilight. Day to Dusk re-lights the scene to a cool dusk sky with warm window glow and longer shadows — the highest-leverage exterior edit. Twilight heroes can earn up to roughly 3× the clicks of daytime shots, per A/B tests from photographer network HomeJab. Modern, glass-forward homes suit the cooler Cool Twilight preset.
For the full method — and the honesty rules that keep it MLS-safe — see our twilight real estate photography guide and the science of day-to-dusk conversions.
Drone stills, not drone reels
Aerial photos belong in most exterior sets, and drone stills edit like any other real estate photo — the same sky replacement, lawn revival, and perspective tools work on a flat aerial JPG.
One boundary: Plotpane is image-only. It enhances drone stills but does not shoot or edit video, drone reels, or virtual tours. For aerial coverage, our drone real estate photography guide covers flight patterns, legal basics, and framing. To tie the whole gallery together, start with the listing photo guide.
Frequently Asked Questions
What is the best time of day for exterior real estate photography?
The golden hour — the first or last hour of daylight — gives soft, directional light that flatters the façade. Shoot whichever side the sun strikes, and avoid harsh midday sun, which blows out the sky and turns windows into dark voids. An overcast day works as a fallback.
How do you keep walls straight when photographing a house exterior?
Keep the camera level and shoot from chest height instead of tilting up; a tripod with a bubble level helps. A 24–35mm equivalent lens also cuts distortion. If walls still lean, Perspective Fix straightens the verticals automatically.
How many exterior photos should a real estate listing have?
Zillow's research points to 22–27 total listing photos as the sweet spot, and homes with fewer than nine are about 20% less likely to sell within 60 days. Plan a front hero, side and rear elevations, the yard, and any standout amenity.
Is it ethical to edit exterior real estate photos?
Re-lighting or tidying what's actually there — exposure, a flat sky, a dormant lawn, a stray bin — is standard practice. The line is fabrication: don't add features or views that don't exist, and follow your MLS's disclosure rules. Structure-preserving edits keep the photographed property the same one buyers find on arrival.
Can Plotpane edit drone photos of a property?
Yes. Drone stills edit exactly like ground-level shots — sky replacement, lawn and pool revival, perspective correction, and enhancement all work on aerial frames. Plotpane does not edit drone video or reels, though — it's a still-image pipeline for listing photography.