7 Drone Real Estate Photography Shots (With Altitudes)
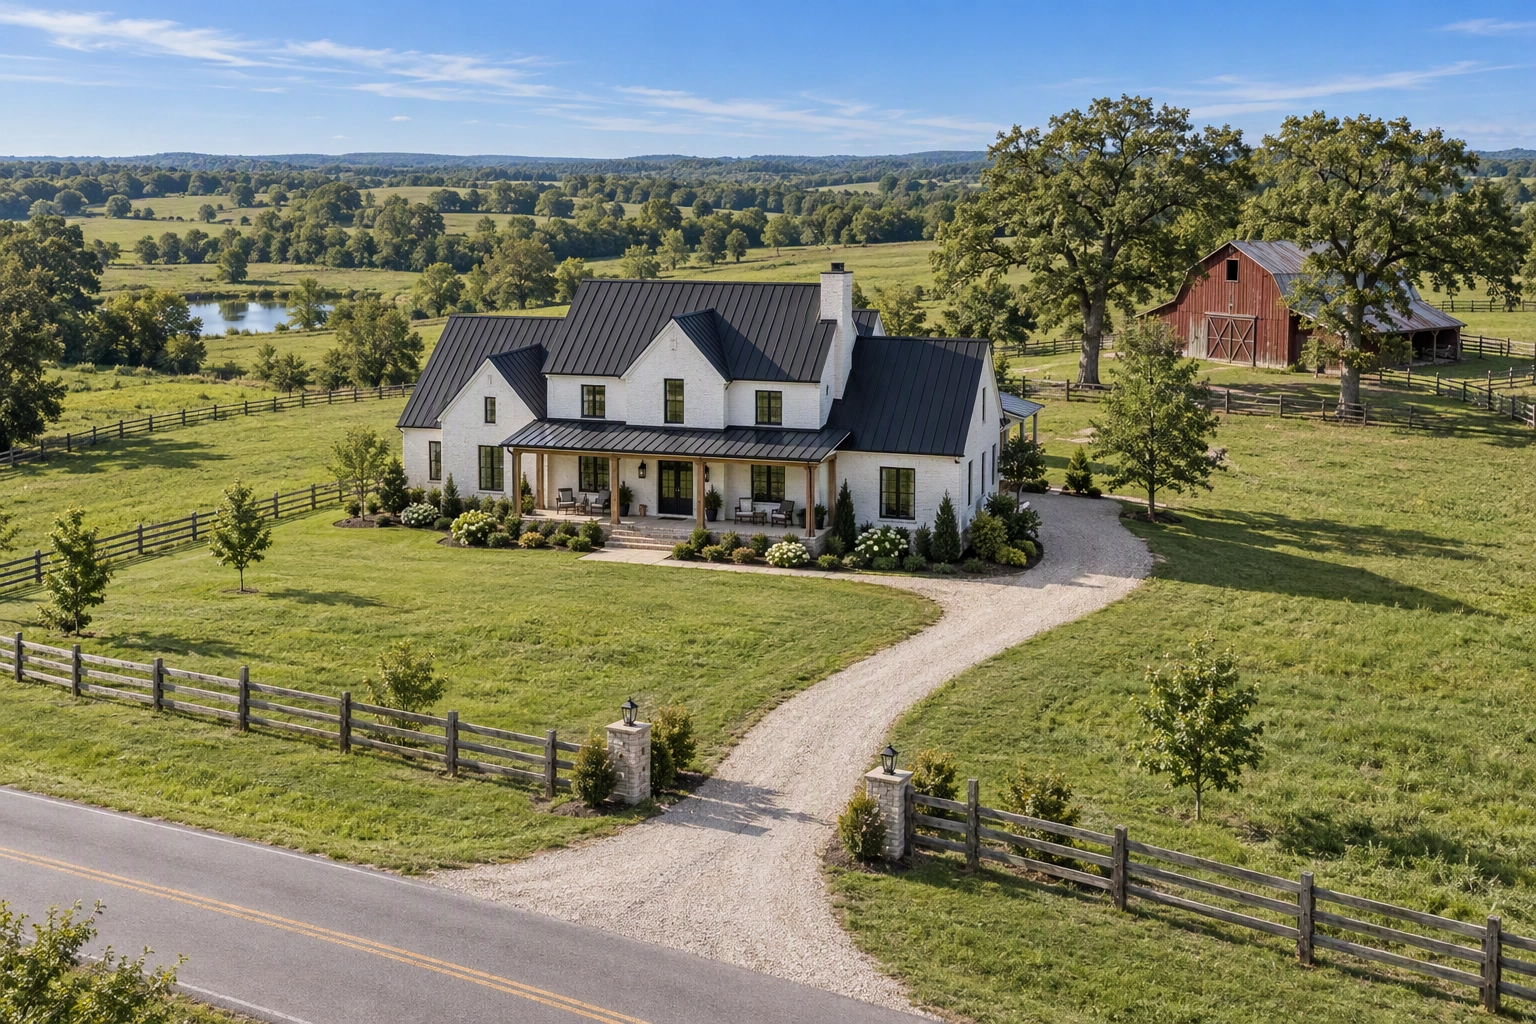
Drone real estate photography earns its fee when each aerial answers a question the ground shots can't: how big the lot is, what sits next door, how far it is to the water. This guide covers aerial stills, with an altitude and gimbal angle for each of seven shots, the FAA Part 107 basics for US pilots, and the post-shoot fixes for flat skies and tired lawns.
Quick Summary: Drone real estate photography works best as seven stills per property, from a 10–25 ft elevated front to a full-lot top-down whose altitude you set from the lot size. Any paid flight in the US needs a Part 107 certificate, whatever the drone weighs. Fix flat skies and dormant lawns in post, and disclose the edits.
Why drone real estate photography earns its fee
Aerials are standard practice now. In NAR's 2025 REALTORS Technology Survey (members polled in July 2025), 52% of REALTORS said they use drone photography or video, the third most-used technology after eSignature (79%) and social media (75%), according to the survey report.
The famous sales number needs a footnote. NAR's Drones resource page says "according to the MLS, homes displayed with aerial shots are 68% more likely to sell." It doesn't name the MLS, the years or the method, and stat roundups have since rewritten it as "68% faster." Aerials are also bought for bigger, pricier, more unusual properties, so part of that gap is the house, not the camera. Treat it as directional, never as a promise to a seller.
The benefits of drone photography you can count on are context: the property's shape and setback, the roof, the neighbors, the walk to the beach. Buyers otherwise drive over to answer those questions, which is why aerial imagery earns its place in the marketing of acreage, waterfront and commercial properties above all.
Do you need a license for drone real estate photography?
Yes, in the US. The FAA treats paid drone photography as a commercial operation, so the pilot needs a Remote Pilot Certificate under Part 107, whatever the drone weighs. The "under 250 grams needs no license" advice applies to recreational flyers only. The basics, from the FAA's Part 107 summary and the regulation itself:
- Certificate: be 16 or older and pass the knowledge test at an FAA-approved center (60 questions, 70% to pass, about $175), then take the free online recurrent course every 24 calendar months.
- Registration and Remote ID: every aircraft used under Part 107 is registered ($5 for three years), including sub-250 g drones, and broadcasts Remote ID.
- Limits: 400 ft above ground level, visual line of sight, three statute miles of visibility, and LAANC authorization near airports.
- Twilight: anti-collision lighting visible for three statute miles.
- People: no flying over anyone outside the shoot unless your aircraft qualifies under the operations-over-people rules.
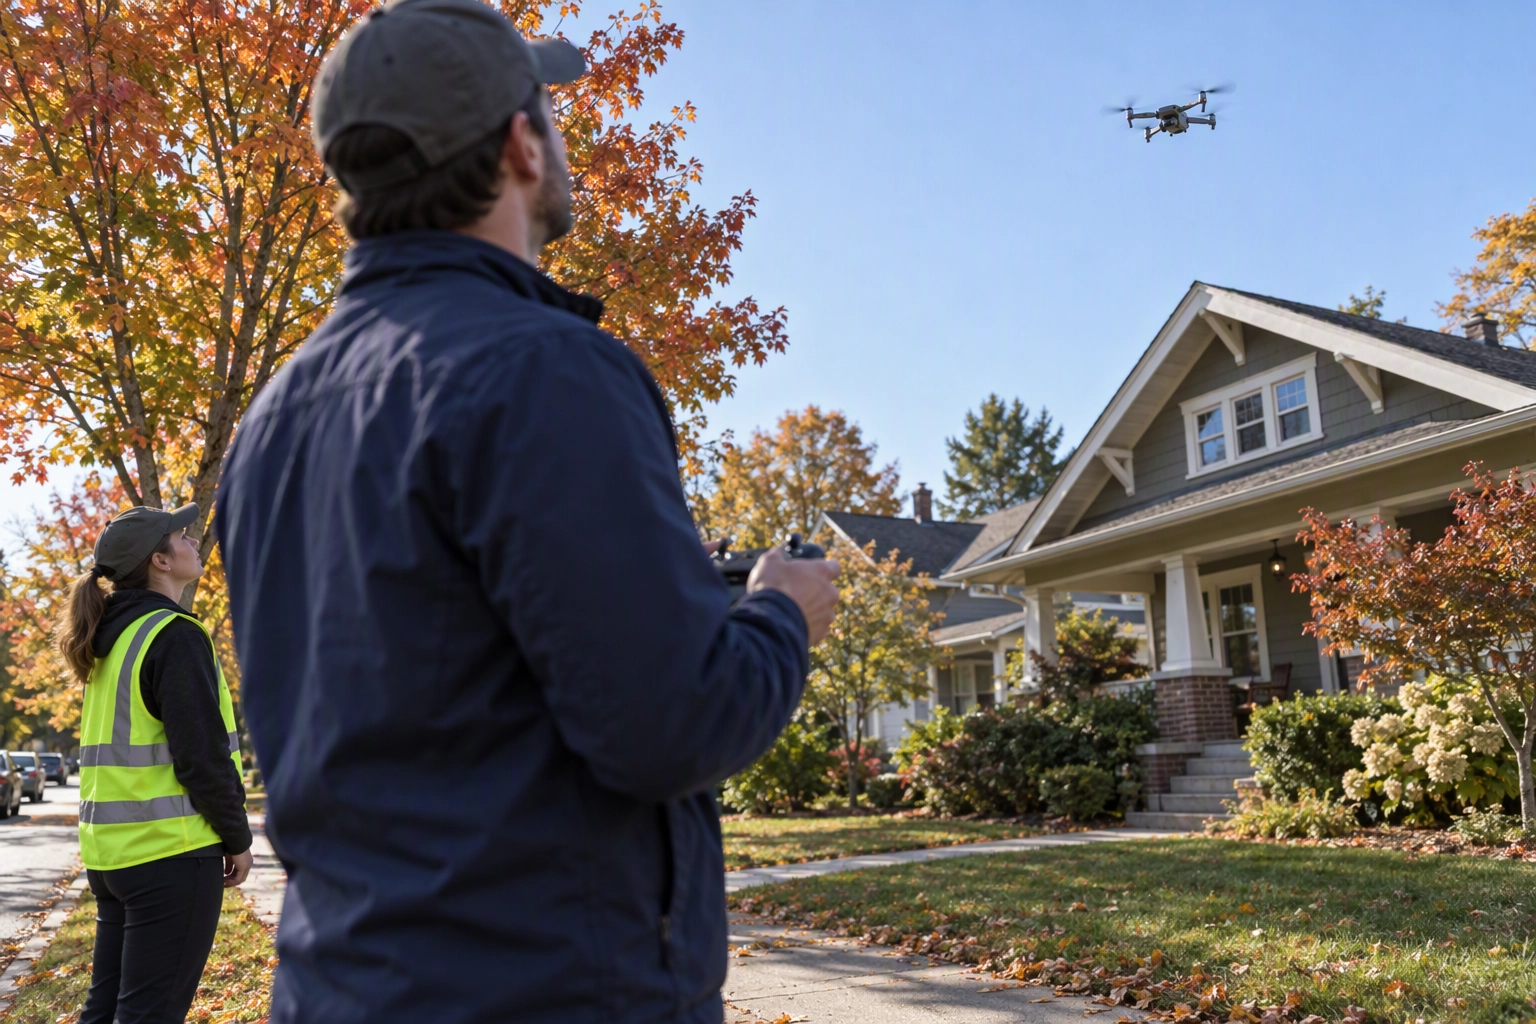
Insurance isn't an FAA requirement, but clients and brokerages often ask a pilot to provide proof of liability insurance. Hiring a professional commercial pilot? Check the certificate and the policy before you book their services.
Which drone for real estate stills in 2026?
For drone real estate photography, sensor size and a second focal length matter more than video specs. These DJI drones cover most commercial real estate drone services today:
| Drone | Weight | Main camera | Extra cameras |
|---|---|---|---|
| DJI Mini 4 Pro | under 249 g | 1/1.3-inch, 48MP, 24mm | none |
| DJI Air 3S | 724 g | 1-inch, 50MP, 24mm | 70mm |
| DJI Mavic 3 Pro | 958 g | 4/3, 20MP, 24mm | 70mm, 166mm |
| DJI Mavic 4 Pro | 1,063 g | 4/3, 100MP, 28mm | 70mm, 168mm |
Our pick is the Air 3S, for two benefits: the 1-inch sensor holds a bright sky and a shaded porch in one bracket, and the 70mm camera compresses a house against mountains. DJI rates the Mini 4 Pro for winds up to 10.7 m/s (about 24 mph), and light drones drift well before that. Specs come from DJI's spec pages.
Check availability first. The FCC added DJI and other foreign-made drones to its Covered List in December 2025, which blocks new models, and an August 2026 proposal would pull sales clearance from LiDAR-equipped drones, including the Air 3S (DroneDJ). It was still a proposal at the time of writing, and neither action grounds drones you already own. More kit advice sits in our equipment guide.
Listing-grade drone photography means stills, not frame grabs from footage: a 4K video frame is about 8.3MP, a sixth of a 50MP still. Footage and videos are a separate marketing deliverable.
How to shoot drone real estate photography in 6 steps
Clear the site, plan the light, set the camera once, then fly the shot list from low to high.
Step 1 — Clear the airspace and the lot
Request LAANC if needed, get the seller's written OK, and walk the property. Move cars and trash bins, take the pool cover off, and ask people to stay inside. Look up, too: power lines and tall trees create the real ceiling.
Step 2 — Plan around the sun
Find which way the front faces before you book. You want the sun on the facade you're shooting, or beside it, never behind the house.
- Three-quarter obliques: mid-morning or mid-afternoon, with the sun about 30–45° up, gives roof planes some shape.
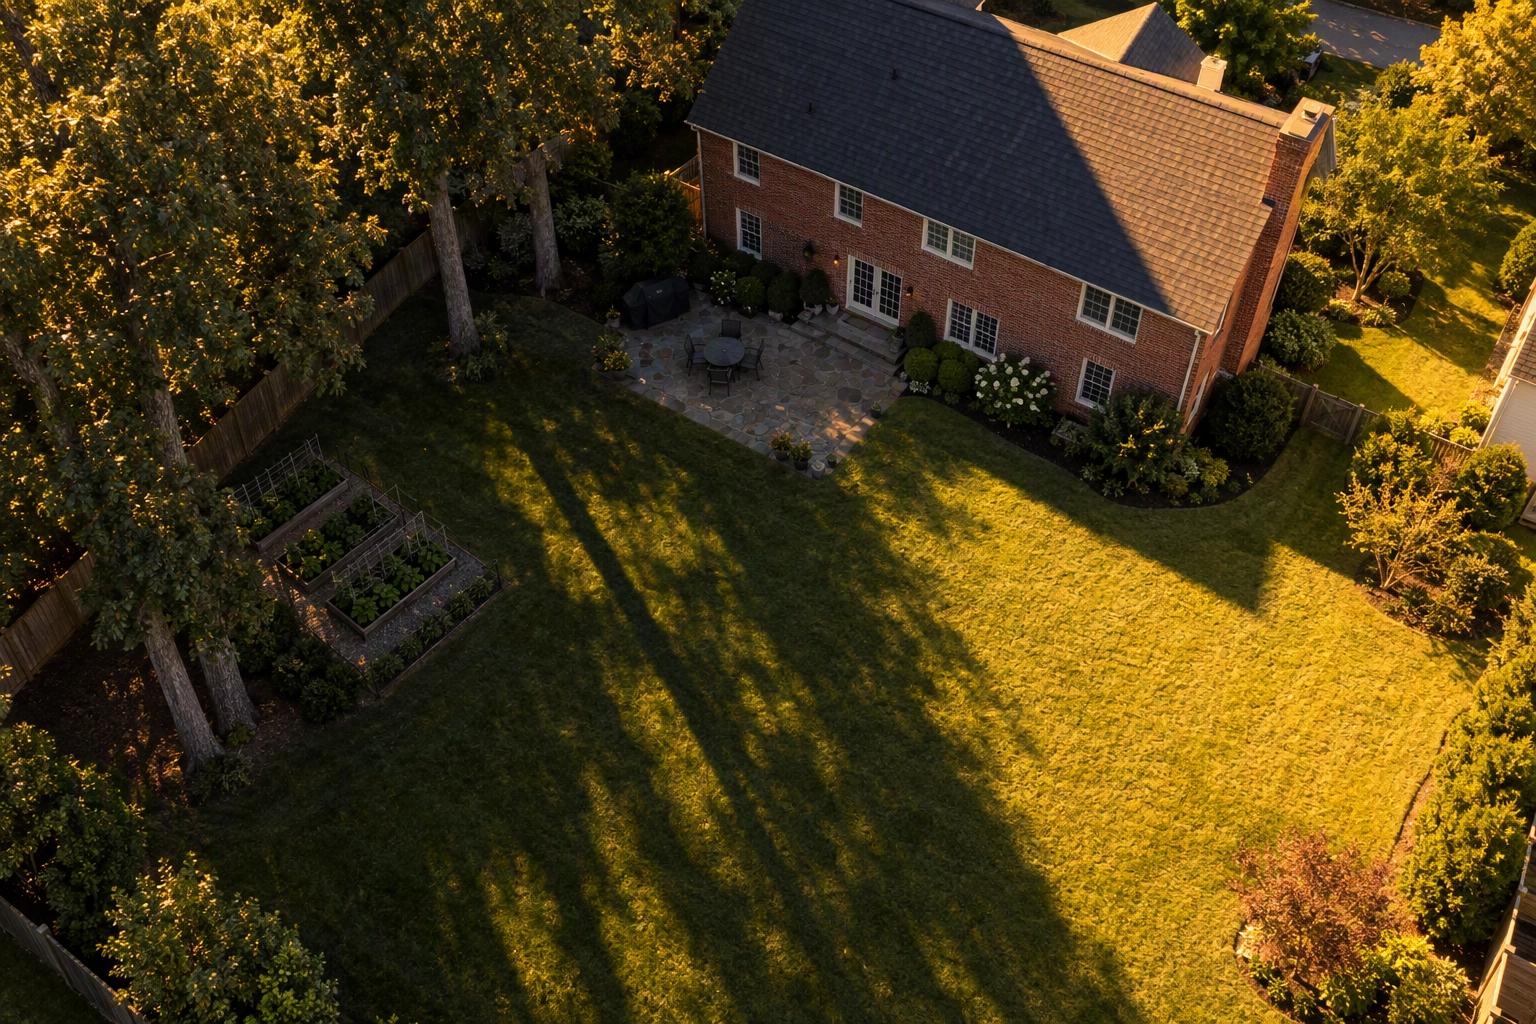
- Top-downs: fly near midday, when shadows are shortest. At golden hour, tree shadows can swallow half a backyard.
- Haze and wind: a clear day after a cold front beats a milky one, and gusts at altitude beat anything you feel on the driveway.
Step 3 — Set the camera for stills
Shoot RAW plus JPEG in the native 4:3 ratio at ISO 100, using auto exposure bracketing (3 or 5 frames) so a bright sky and a shaded entry survive in one frame. Lock white balance so the set matches.
Step 4 — Fly the 7-shot list
These seven frames create a complete marketing set for most residential lots. Heights are above ground level; a negative gimbal angle tilts the camera down.
| Shot | Altitude | Gimbal | What it proves |
|---|---|---|---|
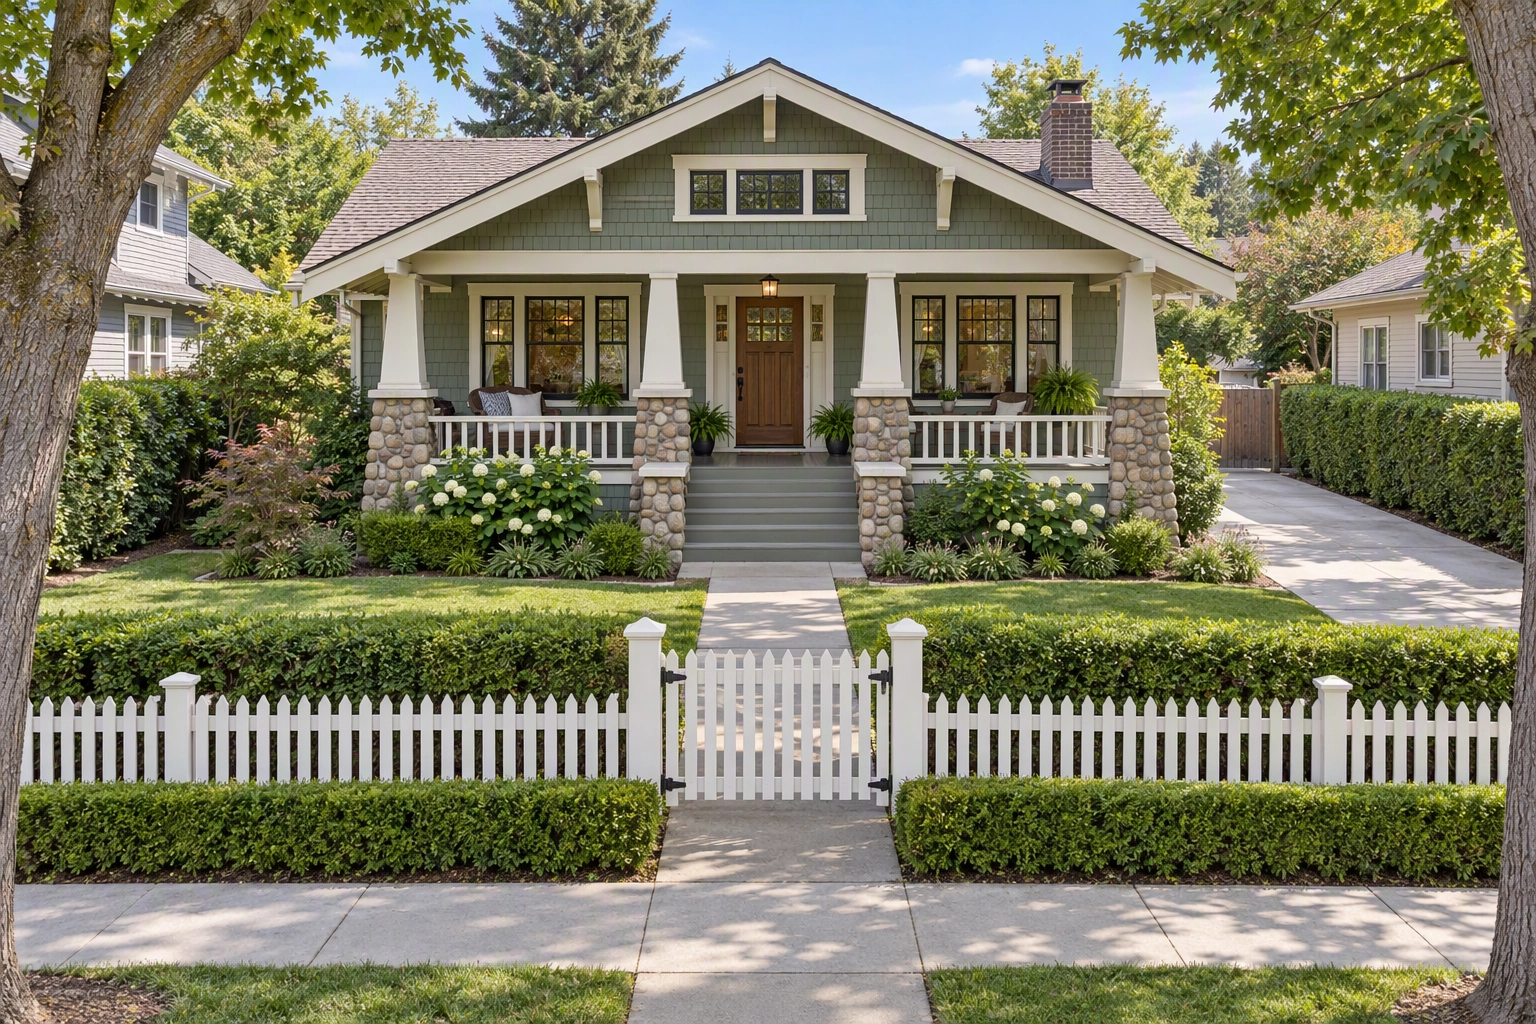
| 1. Elevated front | 10–25 ft | 0° to −10° | Facade over the hedge, straight verticals |
| 2. Front three-quarter | 40–80 ft | −20° to −30° | Two facades, roof, driveway |
| 3. Rear three-quarter | 40–80 ft | −25° to −35° | Yard, deck, pool, fence lines |
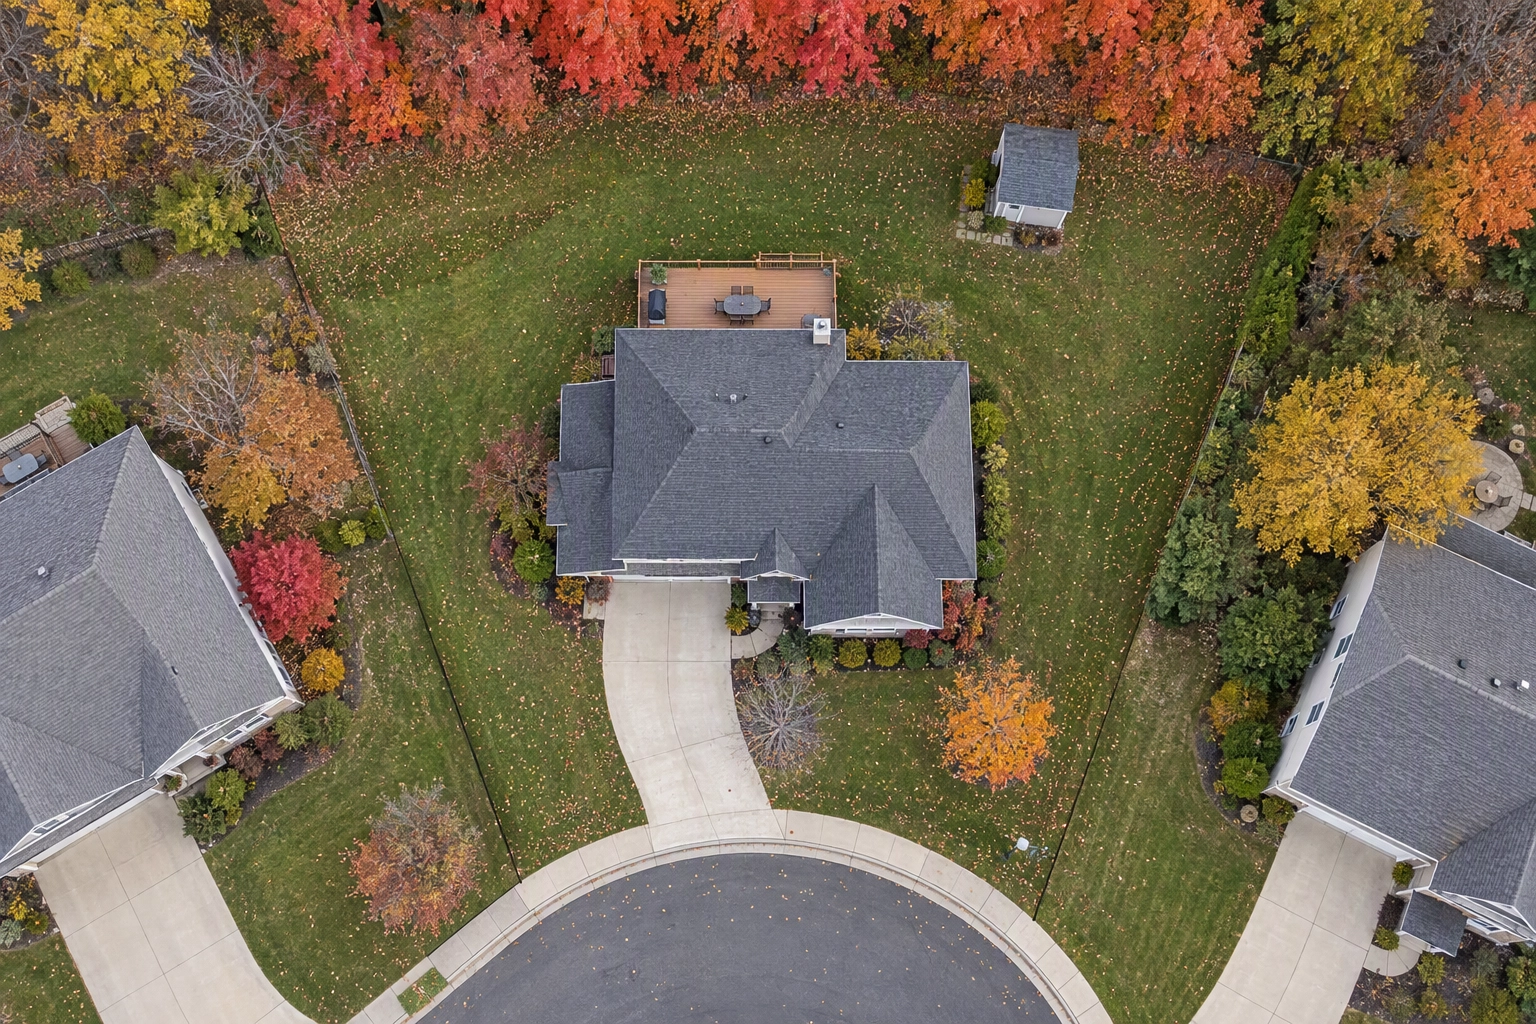
| 4. Top-down | set by lot size | −90° | Lot shape and footprint |
| 5. Context | 150–300 ft | −15° to −25° | Distance to water, park, town |
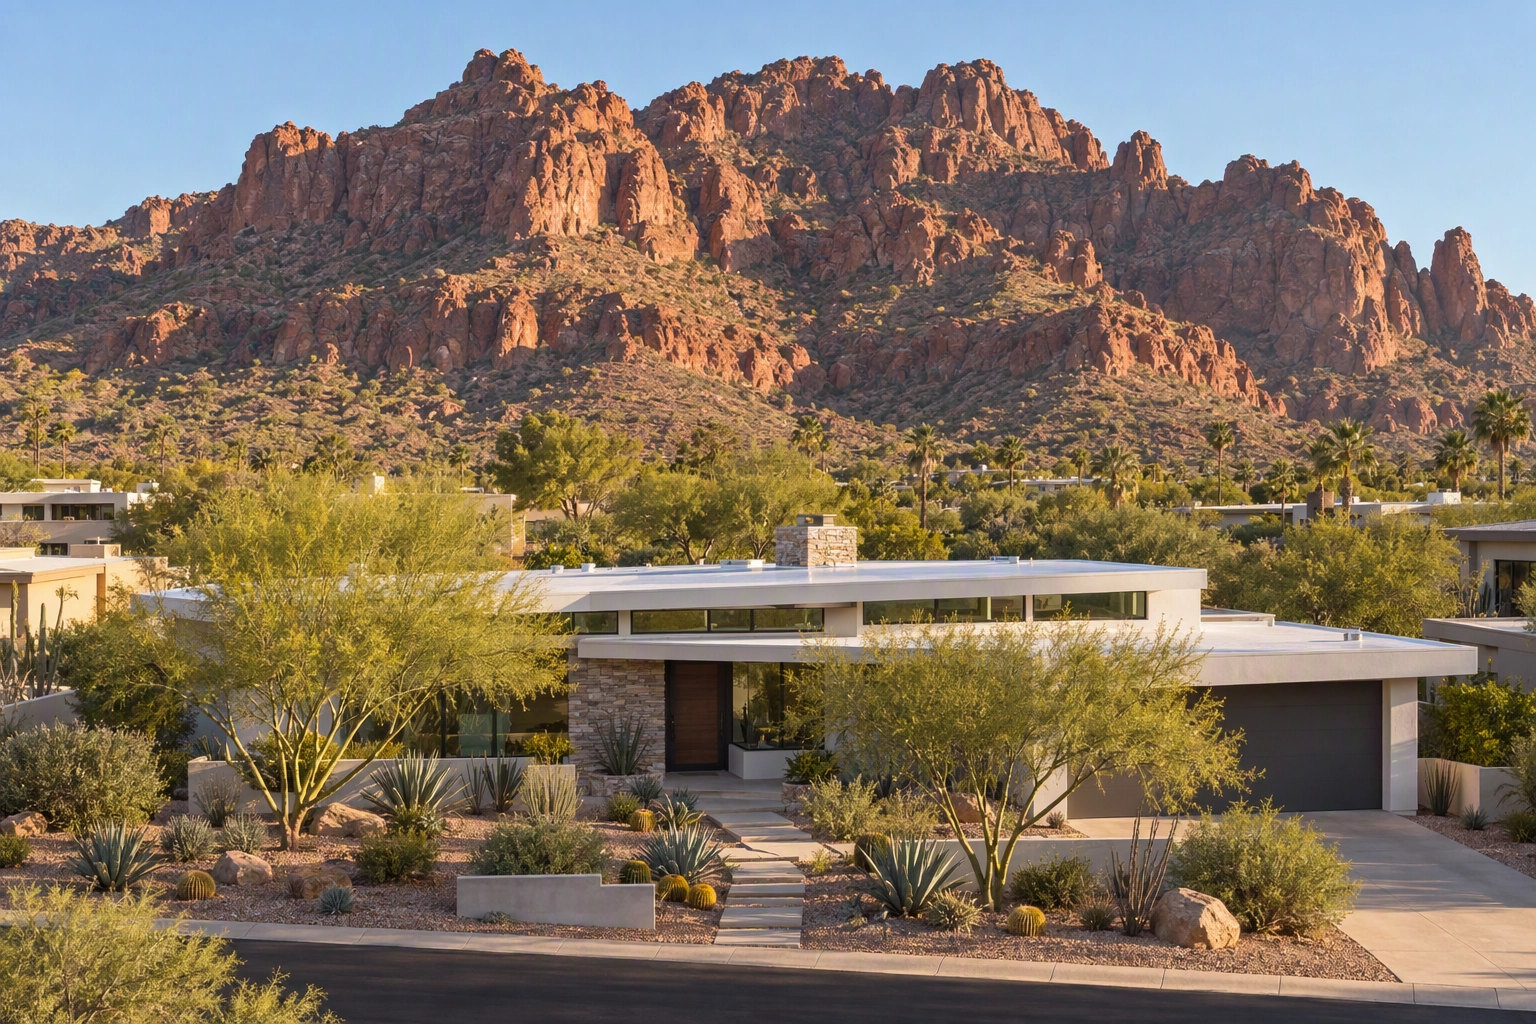
| 6. Telephoto backdrop | 100–200 ft | −5° to −15° | House against mountains or skyline |
| 7. Twilight (optional) | 40–100 ft | −15° to −25° | Window glow, lit landscaping |
Shot 1 is the one most pilots skip, and often the most professional-looking frame. At 10–25 ft with the gimbal near level, the camera clears fences and parked cars without tilting, so walls stay vertical. Keep the horizon level in every oblique and never let it slice through the roofline.
For shot 6, back away and switch to the 70mm camera to showcase the setting. Distance flattens the scene, so the ridge seems to sit right behind the roof. That's honest compression, not an edit, as long as the mountains really are there.
Step 5 — Fly high enough for a full-lot top-down
A 24mm-equivalent drone camera shooting 4:3 straight down covers about 1.44 × your altitude across and 1.08 × your altitude deep on flat ground. With a 20% margin around the lot:
| Altitude | Ground covered | Largest lot with margin |
|---|---|---|
| 100 ft | 144 × 108 ft | about ¼ acre |
| 150 ft | 216 × 162 ft | about ½ acre |
| 200 ft | 288 × 216 ft | about 1 acre |
| 300 ft | 433 × 324 ft | about 2.2 acres |
| 400 ft | 577 × 433 ft | about 4 acres |
The quick rule: turn the drone so the lot's long side runs along the frame's long side, then fly at 0.83 × the lot's length or 1.11 × its width (in feet), whichever is higher. For example, a 75 × 145 ft lot needs about 120 ft. Rural properties above roughly 4 acres won't fit under the 400 ft cap, so use a high oblique from a corner or a stitched panorama; orthomosaic mapping is surveying, not drone photography for a listing. On the 28mm Mavic 4 Pro, add about 17% to every height.
Step 6 — Add lot lines last, and label them
Pull the property lines from the recorded survey or, failing that, the county GIS viewer; county mapping layers are approximations. Draw them on the top-down using a pen tool, label them "approximate boundaries," and deliver a clean version too, so buyers never mistake a sketch for a survey. Many MLSs limit graphics on photos, so check first, and finish color and sky work before the lines go on.
Fixing flat skies and dull lawns after the flight
Most problems in drone real estate photography are atmospheric, not structural: a white sky, haze that flattens color, a lawn gone dormant. Plotpane fixes each with one tool and one credit per pass, in about two minutes per image, without redrawing the roof, the trees or the lot.
- Prepare the file. Plotpane accepts DNG and other raws up to 25MB but renders from the JPEG embedded inside the raw (raw upload notes). A 48–50MP DNG usually runs past that limit, so merge your brackets and export a high-quality JPEG under 25MB.
- Auto Enhance corrects exposure, white balance, color and clarity: the haze pass.
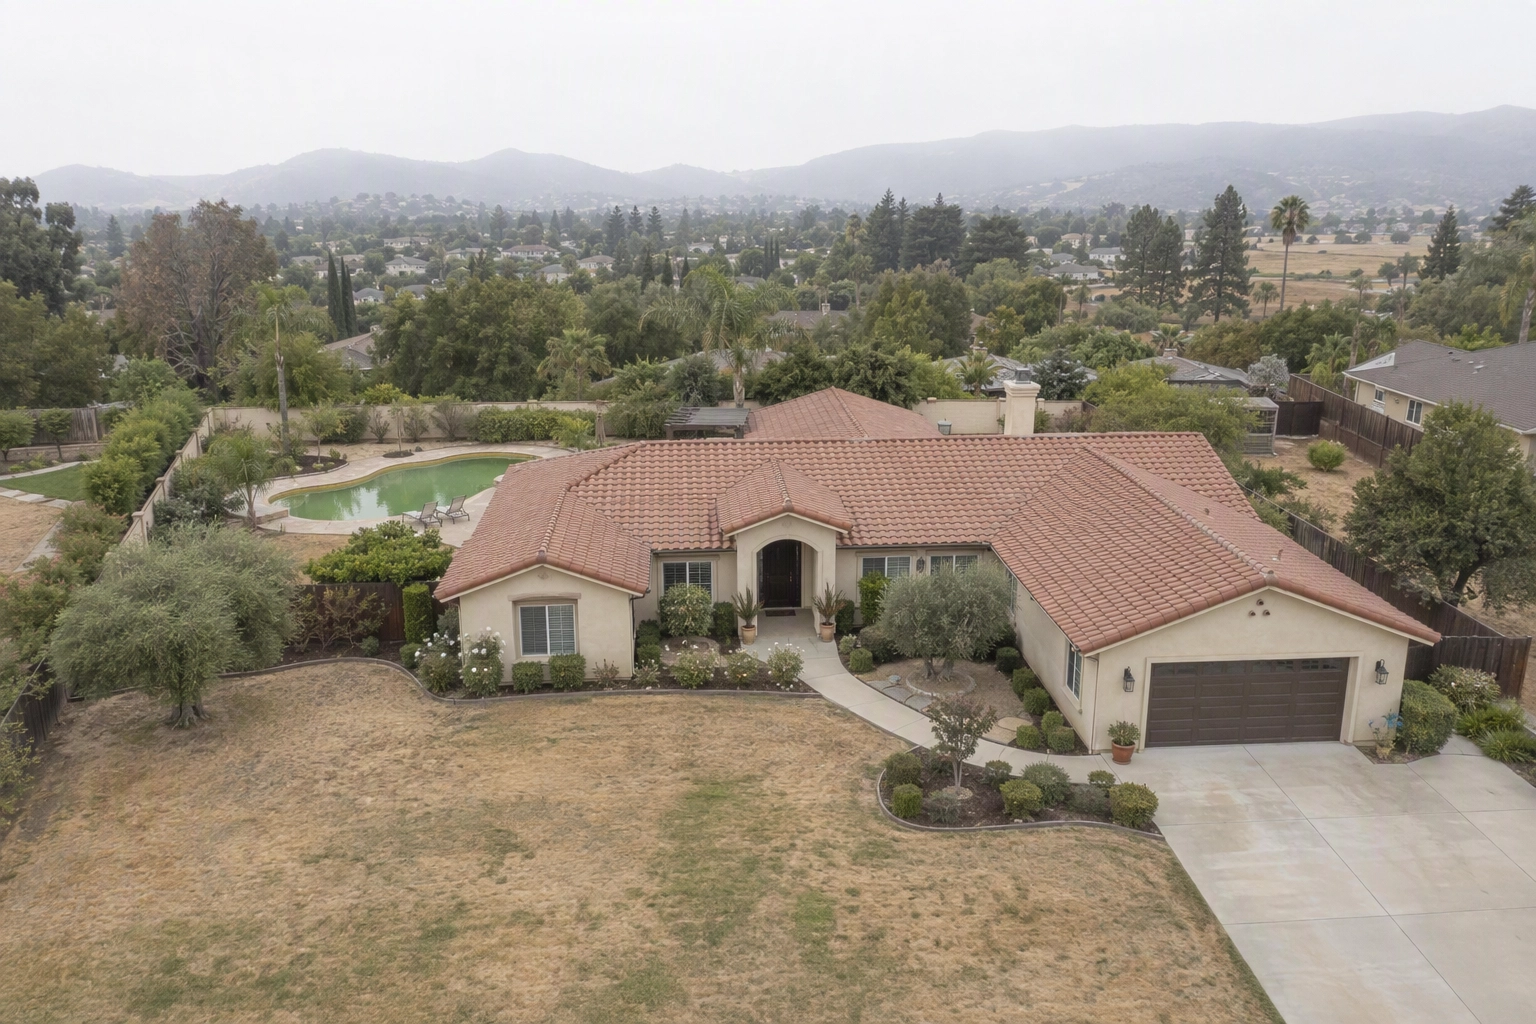
- Sky Swap replaces a white or blown sky with matched color grading. Pick a sky that agrees with the ground light; a stunning blue sky over shadowless grass creates an obvious fake.
- Lawn & Pool Revive greens a drought-browned lawn and clears cloudy pool water.
- Optional: Perspective Fix for a tilted elevated front, and Day to Dusk for shot 7 without a twilight flight.
Each pass exports ~2.4K images as standard, or ~4.7K for a second credit, with invisible XMP disclosure metadata and no watermark. Plotpane edits stills only, never videos, and plans start at $39 a month billed yearly. Studios that provide aerial imagery for several agents can see the batch workflow on our page for photographers; the ground-level half of the shoot is in our exterior real estate photography guide.
Revive a lawn that's seasonally dormant, not a dirt lot, and disclose edits in your marketing the way your MLS requires, as our disclosure guide explains.
Frequently Asked Questions
How high should you fly for drone real estate photography?
Most aerials sit between 10 and 300 ft: 10–25 ft for the elevated front, 40–80 ft for three-quarter obliques, and a lot-dependent height for the top-down, about 120 ft for a typical 75 × 145 ft quarter-acre lot. The legal ceiling is 400 ft above ground.
How many aerial photos should listings include?
Five to eight aerial photos make a full marketing set for most homes. Acreage, waterfront and luxury listings justify more; most condo listings need only the context shot.
Is it honest to replace the sky in drone photography?
Replacing a white sky is widely accepted in drone real estate photography when it's disclosed and nothing about the property changes. Don't remove permanent features such as power lines or a neighbor's building; buyers will see them at the showing.
Can Plotpane edit drone videos?
No. Plotpane edits still images only, so in drone real estate photography it handles the stills, not the reel. Videos need a separate editor.