Flambient Editing in 8 Steps, Layer by Layer
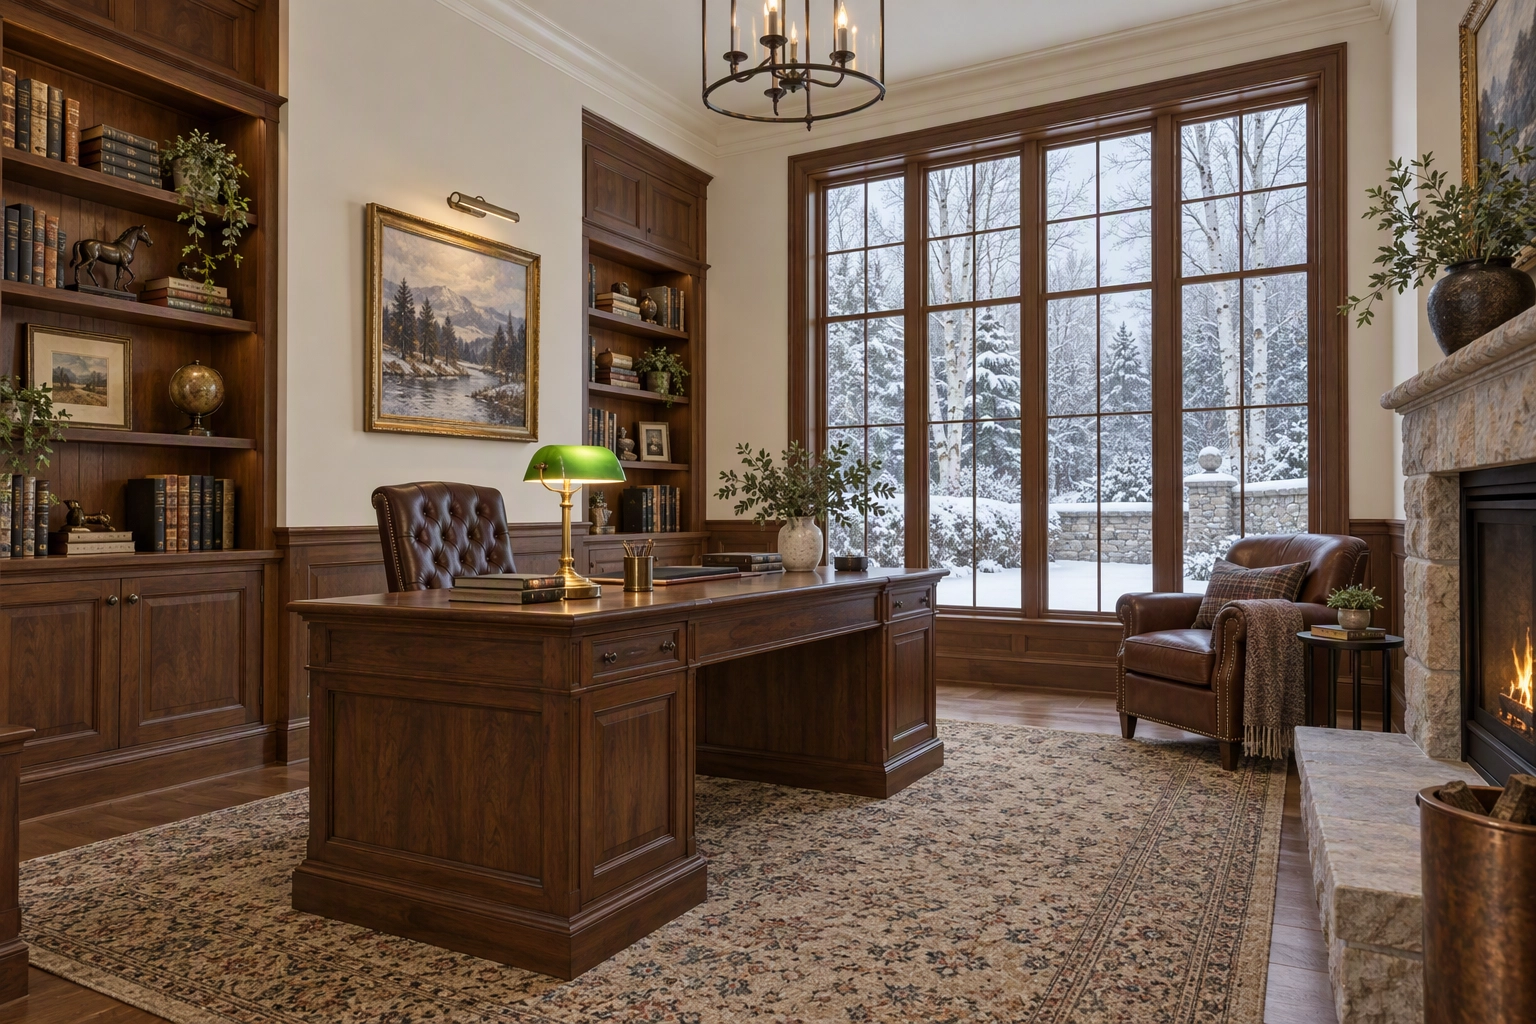
Flambient editing is the Photoshop half of the flash-plus-ambient method of real estate photography: you stack a flash frame under an ambient frame, set the ambient layer to Luminosity, and let each exposure do the one thing it does well. The flash frame brings clean, neutral color, free of bulb casts. The ambient frame brings the soft falloff of natural light. A third "window pull" brings back the view. Done well, the room looks the way your eyes saw it, minus the orange bulbs and white-hot glass.
Below: the shoot, the eight-step blend, the layer stack, and which real estate photos aren't worth blending by hand.
Quick Summary: Flambient editing blends a ceiling-bounced flash frame (color) with an ambient frame (light) and a window pull (view) using Photoshop's Luminosity and Color blend modes. It beats single exposures and most HDR merges in mixed lighting, but adds minutes to every frame. Blend the hero shots by hand; batch the routine ones.
What is flambient editing?
Flambient editing combines at least two exposures of the same locked-off composition, one lit by flash and one by the room's own light, into a single real estate photo with accurate color and balanced windows. The name is simply flash + ambient. Many shooters add a third frame for the view.
This flash and ambient blending sits between two older approaches. Pure flash looks clean but flat. HDR merges bracketed ambient exposures; it is fast but keeps every color cast, because every bracket saw the same mix of bulbs and daylight. The flambient method keeps the soft look of natural lighting and borrows the flash frame's neutral color.
Why can't one exposure fix a mixed-light room?
A typical property interior has two problems no single frame solves: too much contrast between glass and room, and two or three color temperatures at once. Warm-white bulbs sit around 2700–3000K, daylight runs far cooler, and auto white balance can only pick one compromise. One corner goes orange while the window wall goes blue.
A flash fixes the color. Godox rates the flash tube in its AD200Pro II at about 5800K, close to daylight, so when the flash overpowers the bulbs, walls and cabinets render in their real colors. What it gets wrong is the lighting: hotspots, hard shadows behind chairs, a cast-free but lifeless look.
The blend splits the job. According to Adobe's blending mode reference, Luminosity keeps the hue and saturation of the layer below and takes only the brightness of the layer above; Color does the inverse. Put the ambient frame on top in Luminosity mode and you create a file with the flash frame's color and the ambient frame's light. That one blend mode is the whole trick. Everything else is cleanup.
What gear do you need to shoot flambient?
You need a camera with full manual control, a 16–35mm wide-angle lens (full-frame), a sturdy tripod, one off-camera flash and a radio trigger. A geared head keeps verticals straight.
A speedlight covers bedrooms and bathrooms. For living rooms and high ceilings, many professional shooters use a 200Ws pocket strobe, because a speedlight struggles to fill a big room. Our real estate photography equipment guide prices budget and pro kits.
How do you shoot a flambient set, frame by frame?
Shoot every frame from the same tripod position, focus and aperture, so the layers line up.
- Set the camera. Manual mode, RAW, f/7.1–f/8, ISO 100–400, auto or daylight white balance. Focus once, then switch to manual focus.
- Take the ambient shot. Room lights on, expose for the room's midtones, ignore the glass. In high-contrast rooms, bracket at 0, −2 and +2 stops.
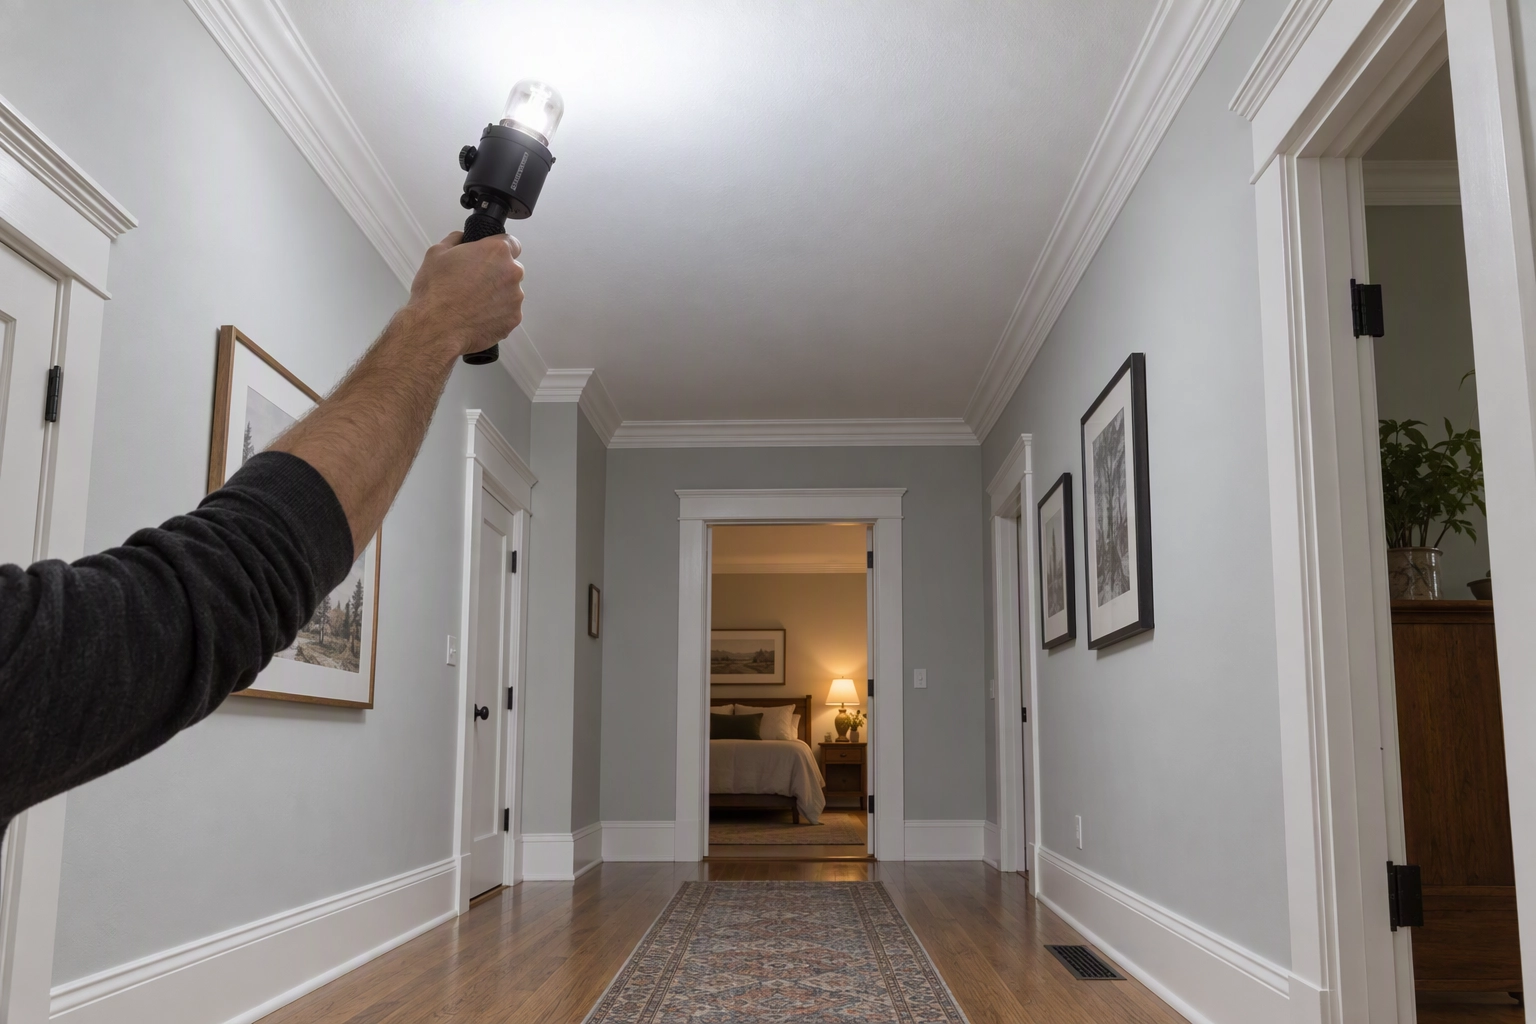
- Take the flash shot. Bounce it off a white ceiling, held 18 inches to 2 feet below and pointing up. Keep the shutter at or below sync speed (usually 1/160–1/250 s) and raise power until the walls look clean. Wood or painted ceilings tint the bounce; use a white reflector.
- Take the window pull. Expose for the view. If the mullions go dark, aim a second pop at them.
- Add pops for problem areas. A dark hallway may need its own flash frame. Never touch the tripod; fire with a remote or a 2-second timer.
Flambient editing in Photoshop: 8 steps, layer by layer
Lightroom (or any raw converter) handles base corrections; Photoshop handles the layers. The common professional real estate photo editing workflow runs in eight steps:
- Prep in Lightroom. Apply lens corrections, remove chromatic aberration, neutralize the flash frame's white balance, then sync settings across the set.
- Open as layers. Select the frames and choose Photo → Edit In → Open as Layers in Photoshop. Name each layer (Flash, Ambient, Window).
- Align. Run Edit → Auto-Align Layers if anything shifted. A bumped tripod leg shows up as a ghost edge on door frames.
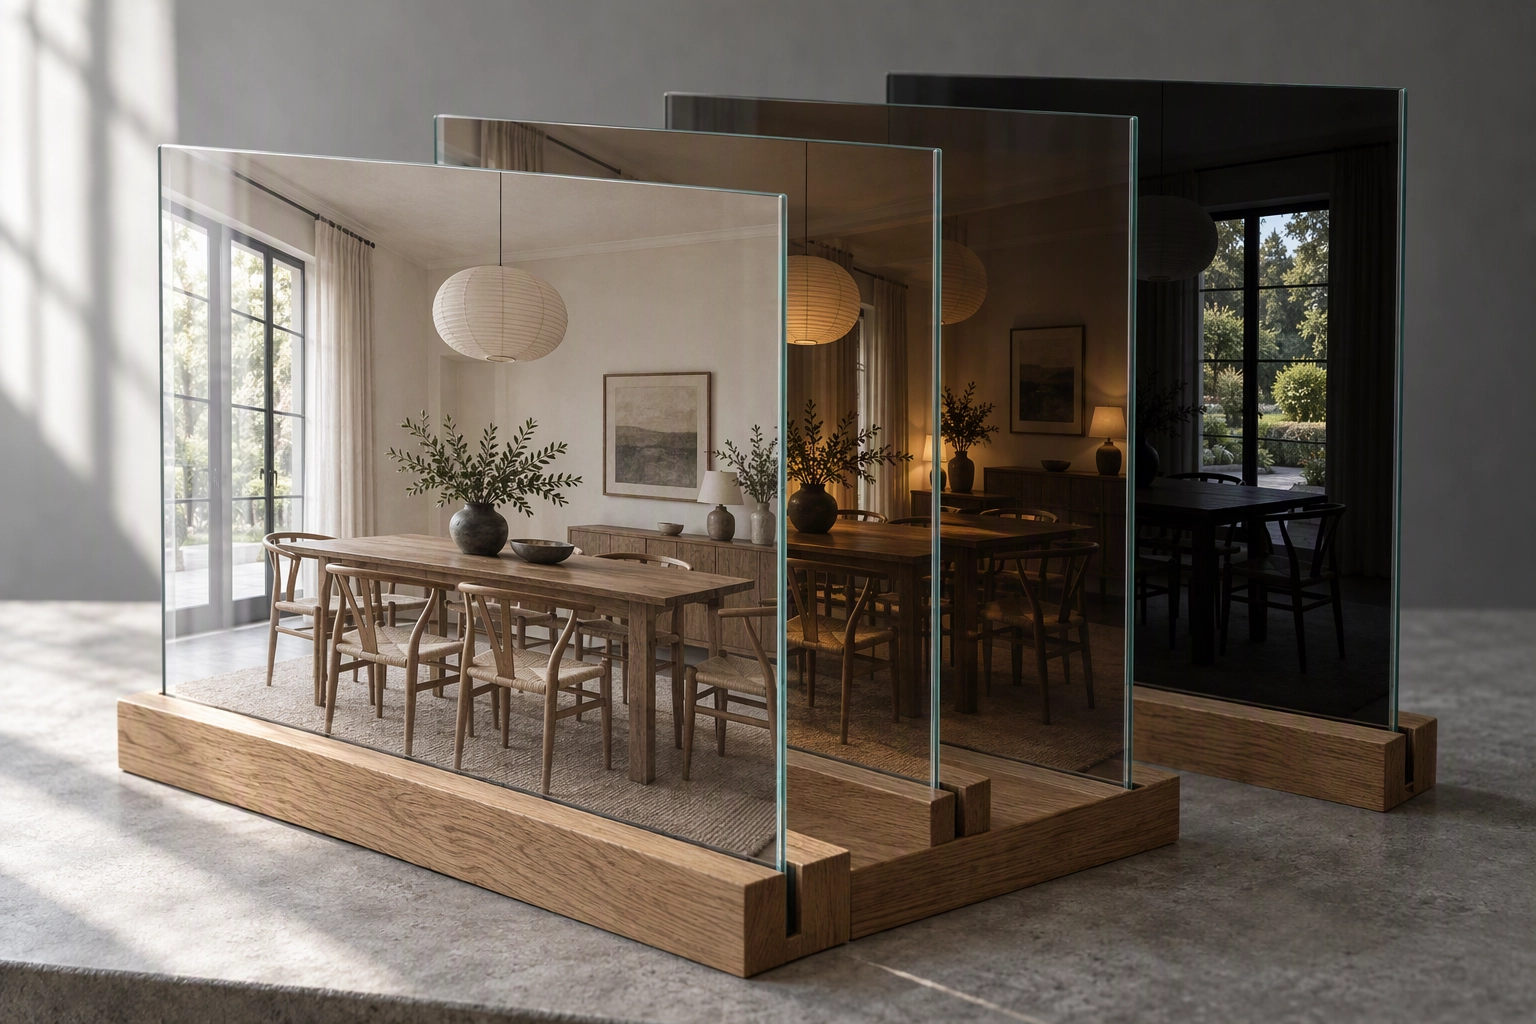
- Stack and blend. Flash at the bottom, Ambient above it, Ambient set to Luminosity. The room now has flash color with ambient light.
- Set the mix. Lower Ambient's opacity until the room is bright enough; many editors land between 50% and 80%.
- Paint out color bleed. Where blending leaves muddy or tinted patches, usually in flash shadows, add an empty layer set to Color, sample the clean color nearby, and paint at 10–20% opacity with a soft brush.
- Pull the windows. Drag the window pull to the top, add a black mask, and paint white over the glass. Keep it honest: a view brighter than the room reads as fake.
- Finish. Mask a Normal-mode copy of the ambient frame over lamps so they keep their warm glow, straighten verticals, add a gentle curve, then export an sRGB JPEG sized for your MLS.
| Layer (top to bottom) | Blend mode | Opacity | What it contributes |
|---|---|---|---|
| Window pull | Normal, masked to the glass | 100% | The exterior view |
| Color fix | Color | 10–20% brush | Removes tints and bleed |
| Ambient | Luminosity | 50–80% | Natural light and mood |
| Flash | Normal (base) | 100% | Clean, neutral color |
You can mirror steps 4 and 5 by putting Flash on top in Color mode; the math is the inverse, so at full opacity the result is identical. Pick one convention so any editor opening your PSD can read it. For export dimensions, see our MLS photo size requirements.
How long does flambient editing take per listing?
Plan on minutes per frame, not seconds. On site, the flambient technique means three to five exposures per composition; one shooter on r/RealEstatePhotography reported that 25–30 photos of a 2,000 sq ft house took more than two hours to shoot this way.
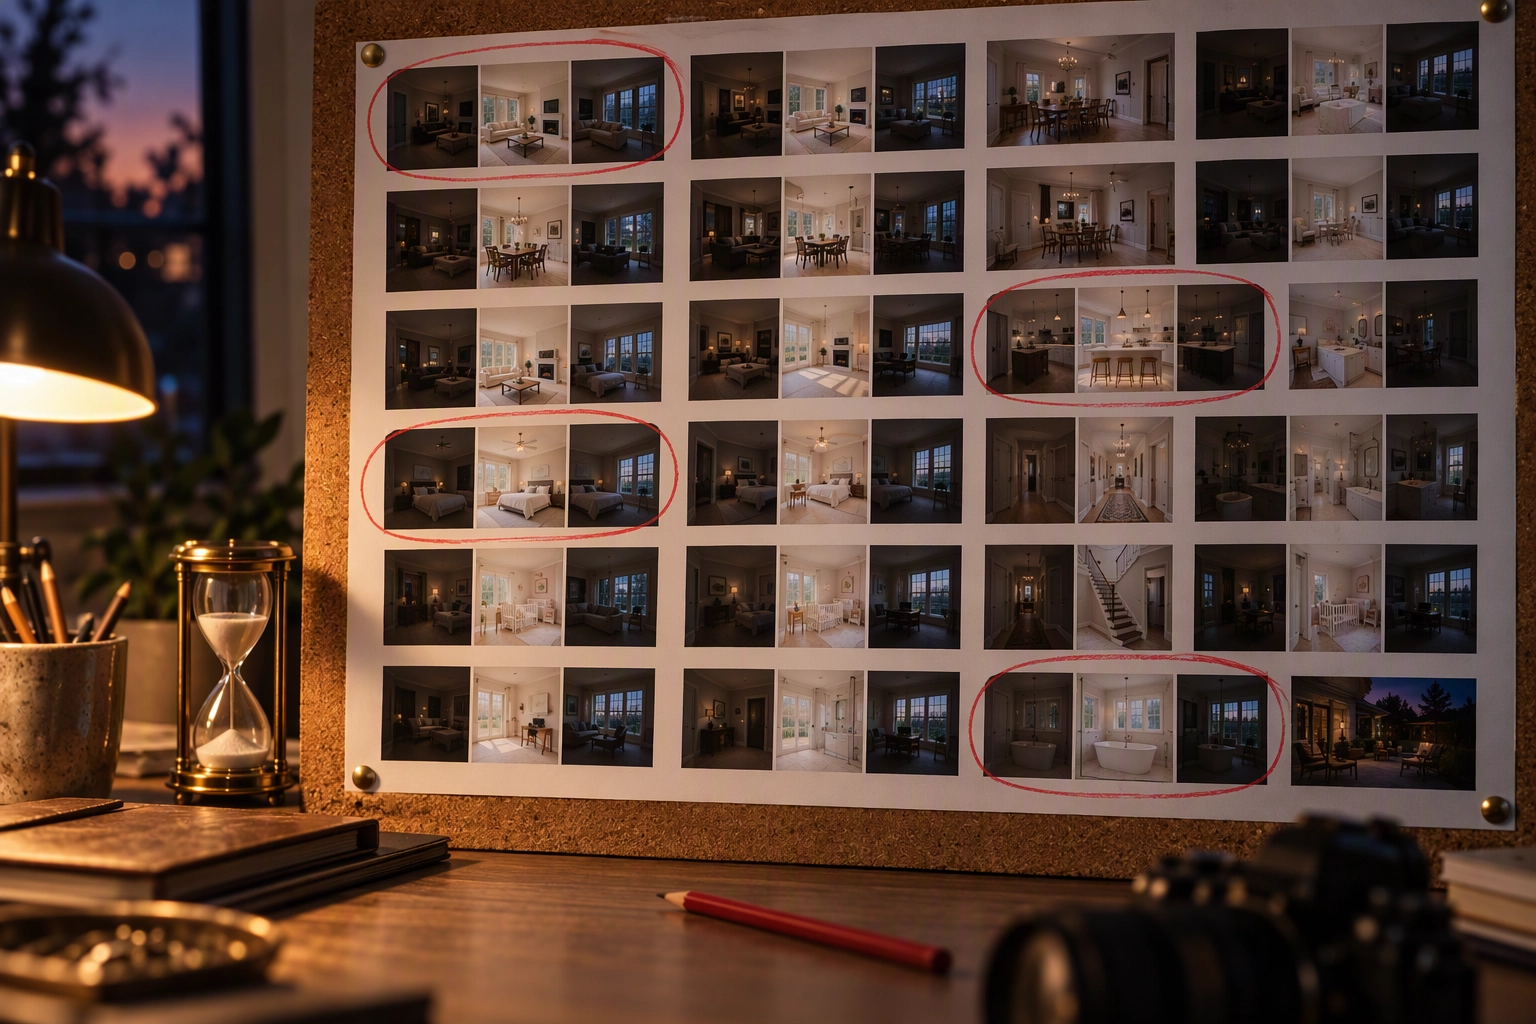
Desk time depends on your speed, so time yourself. At 5 minutes a blend, a 25-frame listing is about 2 hours of hand work; at 3 minutes, 75 minutes. That is the method's real cost. Outsourced photo editing services move the time to another desk, but the bill scales with every image.
| Approach | Frames per composition | Desk work, 25-frame listing | Mixed-light color | Window view |
|---|---|---|---|---|
| Hand flambient blend | 3–5 | 75–125 min at 3–5 min a frame | Best | Best, masked by hand |
| HDR merge | 3–5 brackets | Batch merge, then cast fixes | Keeps the room's casts | Good, can halo |
| One frame + Auto Enhance | 1 | About 18 min of render, unattended | Global correction | Only what the file holds |
That last row is a different trade, and right for some images.
When should you skip the blend and use Auto Enhance?
Skip the blend on routine images: secondary bedrooms, hallways and laundry rooms that buyers scroll past. Keep flambient for the property's hero shots, where a cast or blown window costs you the click.
For those routine real estate frames, Plotpane's Auto Enhance corrects exposure, white balance, color and clarity in one render, using a preserve list that holds the rest of the photo. Each image takes about two minutes and three run at a time, so a 25-frame set takes roughly 18 minutes, unattended. Output is ~2.4K standard, or ~4.7K for a second credit, with no watermark.
Plan around its limits:
- It works from what the file holds. It never paints a view into blown-out glass or redraws walls.
- RAW files render from the embedded JPEG, not sensor data. If a frame needs highlight recovery, do it in Lightroom and upload the exported JPEG.
- A global correction is not a flash layer. With strong orange bulbs against blue daylight, the hand blend still wins.
Plans run $39, $79 or $199 a month billed yearly for 100, 220 or 600 images. The photographer workflow shows how a batch fits around the property shoots you already deliver. For camera habits that help any frame, see interior real estate photography and real estate photography tips.
Frequently Asked Questions
Is flambient better than HDR for real estate?
In mixed light, yes: the flash frame removes casts that HDR keeps. HDR is the faster technique, so many photographers merge brackets for routine listings, send blends to editing services, or save flambient photography for high-end homes.
Which blend mode does flambient editing use?
Luminosity on the ambient layer, placed over the flash layer. A separate Color-mode layer handles touch-ups.
Can you shoot flambient with a single speedlight?
Yes, in small rooms. In large ones, mask several pops together or use a 200Ws strobe.
Can you do flambient editing in Lightroom alone?
Not fully. Lightroom has masks but no layer blend modes, so the Luminosity step needs Photoshop or another layer editor such as Affinity Photo.
Can AI replace flambient editing?
For routine frames, an automated enhance of one well-exposed frame gets close enough. For hero shots in heavy mixed light, a flash frame carries color information a single exposure lacks.