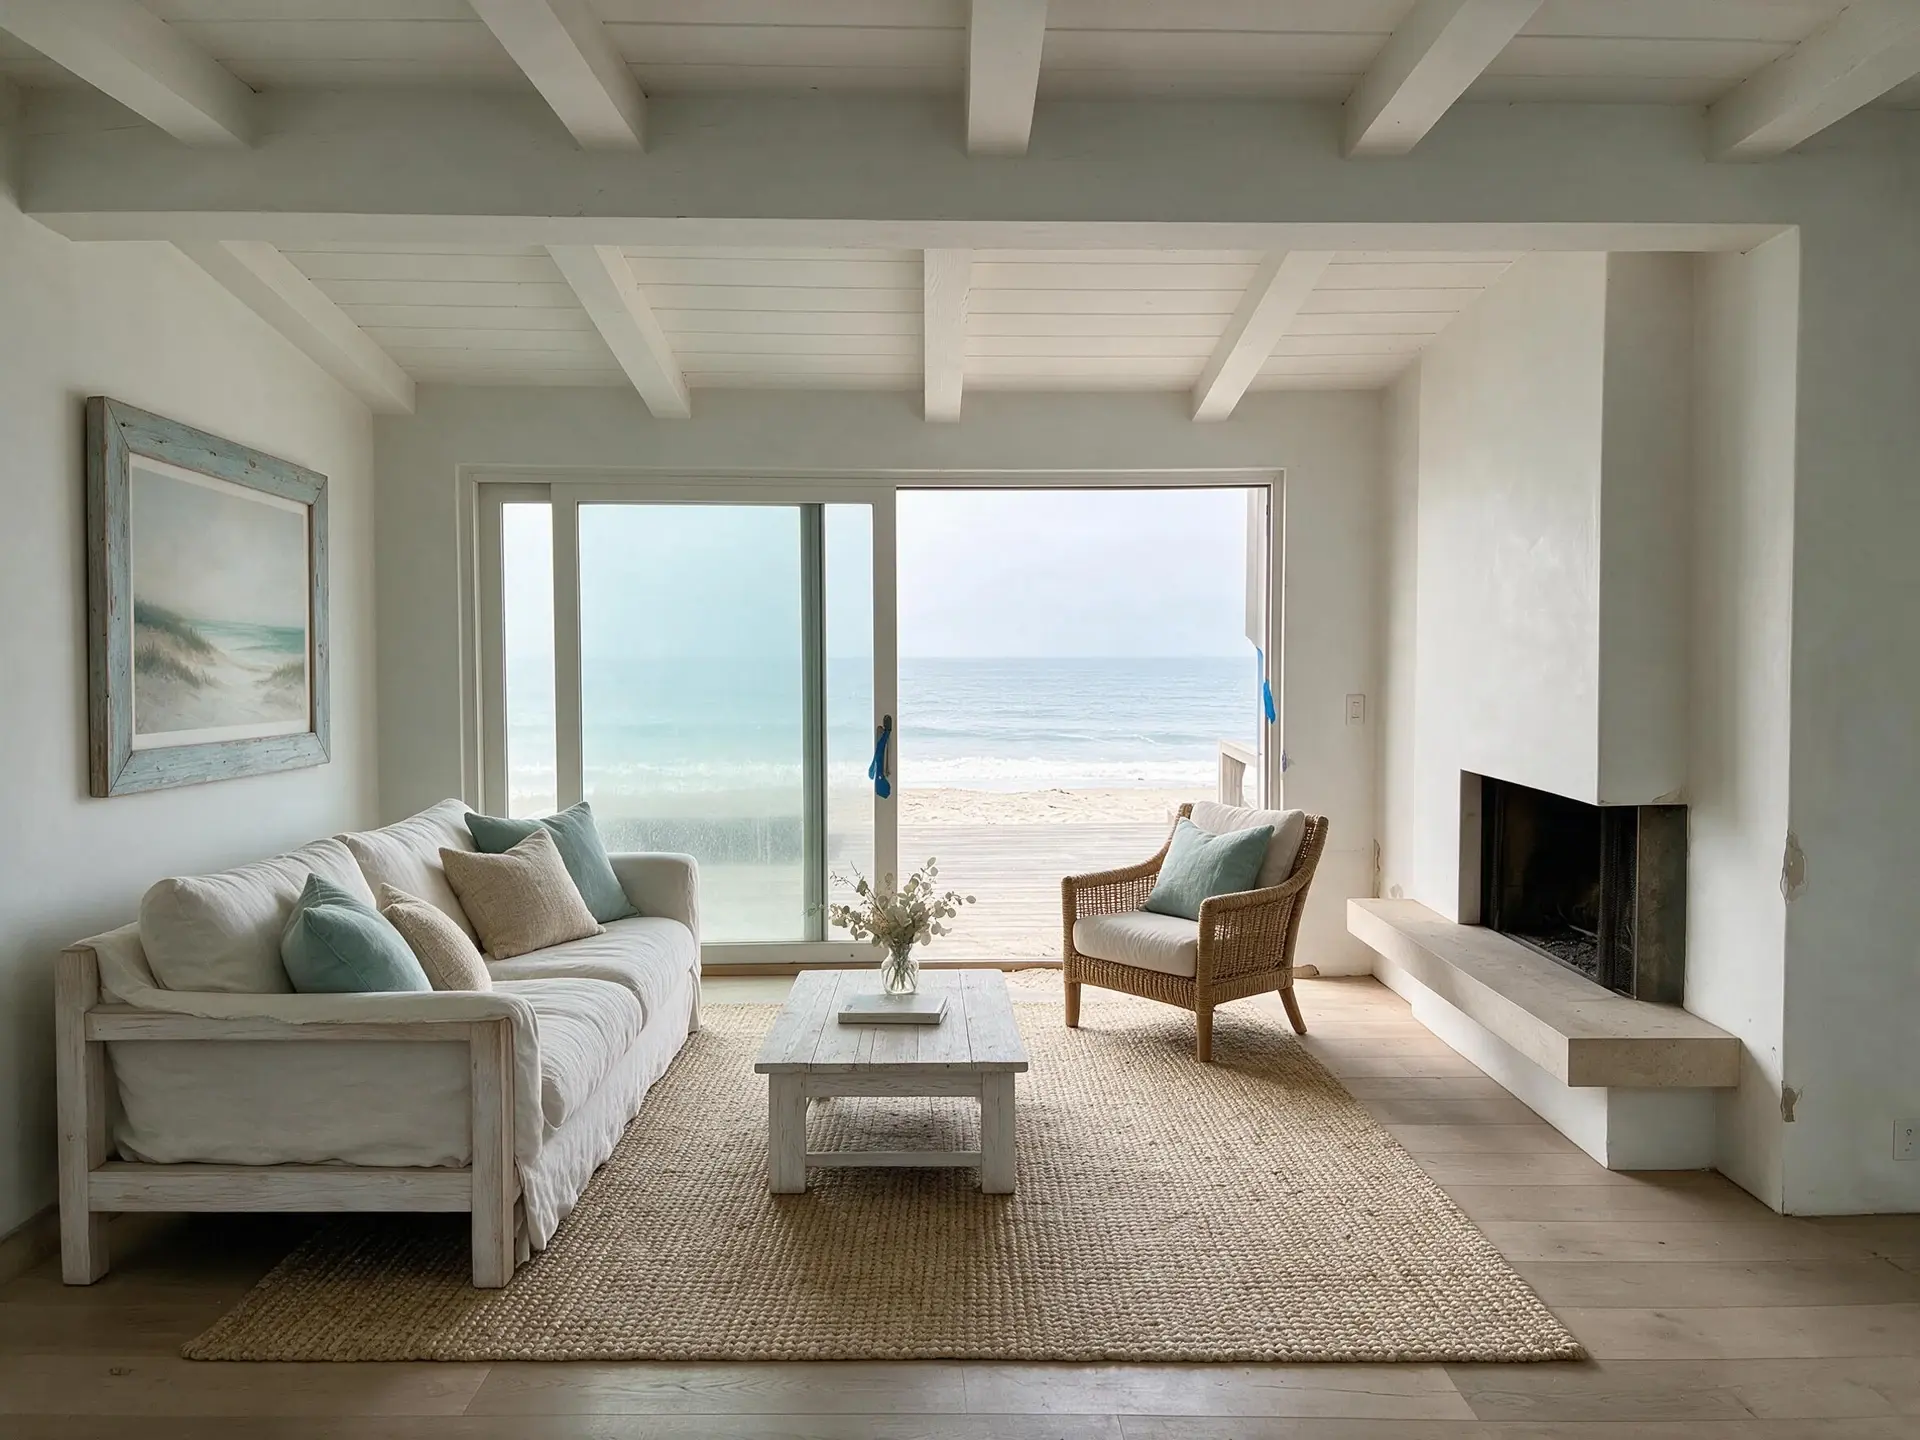
Most UK houses are now photographed on a phone — by the seller before the agent arrives, by the negotiator squeezing a shoot between two valuations, or by an owner listing privately. That is workable. British housing stock and British weather make it harder than the American advice you will find first: small rooms, north-facing fronts, uPVC windows, and a sky that reads as flat grey card for months at a time. This page is the shooting order, the phone settings, and the room-by-room preparation that produce a set Rightmove, Zoopla and OnTheMarket will render properly. It ends with the four failures no amount of care in the field will fix, and what each one costs to correct afterwards.
What the portals do to your photos before a buyer ever sees them
Shoot for the tile, not for your camera roll. Rightmove's own help guidance gives 1024 x 683 pixels as the optimum, landscape, at a 3:2 ratio, and asks for JPG — which is why iPhone shots trip the upload so often, since iOS saves HEIC by default. Zoopla's member support documents a 4:3 landscape tile with the same 1024 x 683 optimum and a 645 x 430 minimum, so a 3:2 frame prepared for Rightmove loses a sliver top and bottom on Zoopla. OnTheMarket takes the same agency feed out of the CRM your agent uses — Reapit, Alto, Jupix — so the format is settled upstream of you either way. Three consequences. Shoot landscape, always: a vertical phone frame is centre-cropped into an unrecognisable middle strip. Set iPhone Camera > Formats to Most Compatible before you start, so you are producing JPEG rather than converting later. And accept that the first image is the whole game, because it is the only one that appears on the search tile, the map pin and the saved-search email. Our general primer at plotpane.com/guides/listing-photos covers the non-UK fundamentals.
Landscape only — vertical frames get centre-cropped on every portal
Rightmove: JPG, landscape, 1024 x 683 optimum at 3:2
Zoopla: 4:3 tile, 1024 x 683 optimum, 645 x 430 minimum
iPhone: Settings > Camera > Formats > Most Compatible before the shoot
The first photo is the search tile — spend your best effort there
02
Shooting a UK house on the phone you already own
Hold the phone dead level and vertical. Turn the grid on (Settings > Camera > Grid on iOS; the same option lives under grid settings on most Android cameras) and keep the horizon line square. The instant you tip the phone up to fit the ceiling in, the walls converge and the room looks like it is falling over — that single mistake accounts for most of the leaning photos on the portals. Stand at chest height, roughly 1.4 metres, rather than eye level: it keeps floor and ceiling in proportion and stops the carpet dominating. Back into a corner of the room and shoot across the diagonal. Use the main 1x lens first, which on a modern iPhone is about a 26mm equivalent, and reach for 0.5x only when the room genuinely will not allow it — the ultra-wide bows straight edges and oversells space, and English rooms are small enough that the temptation is constant. For scale, the nationally described space standard sets a one-bedroom, one-person new home at 37 square metres gross internal area. Two frames per room: one wide from the doorway corner, one of whatever the room is actually selling.
Grid on, phone level, no upward tilt
Chest height, about 1.4 m, shooting across the diagonal from a corner
1x main lens by default; 0.5x ultra-wide only when there is no room
Two frames per room — one wide, one detail
12 to 20 photos for a typical house; every one landscape
03
Light, in a country that spends half the year under cloud
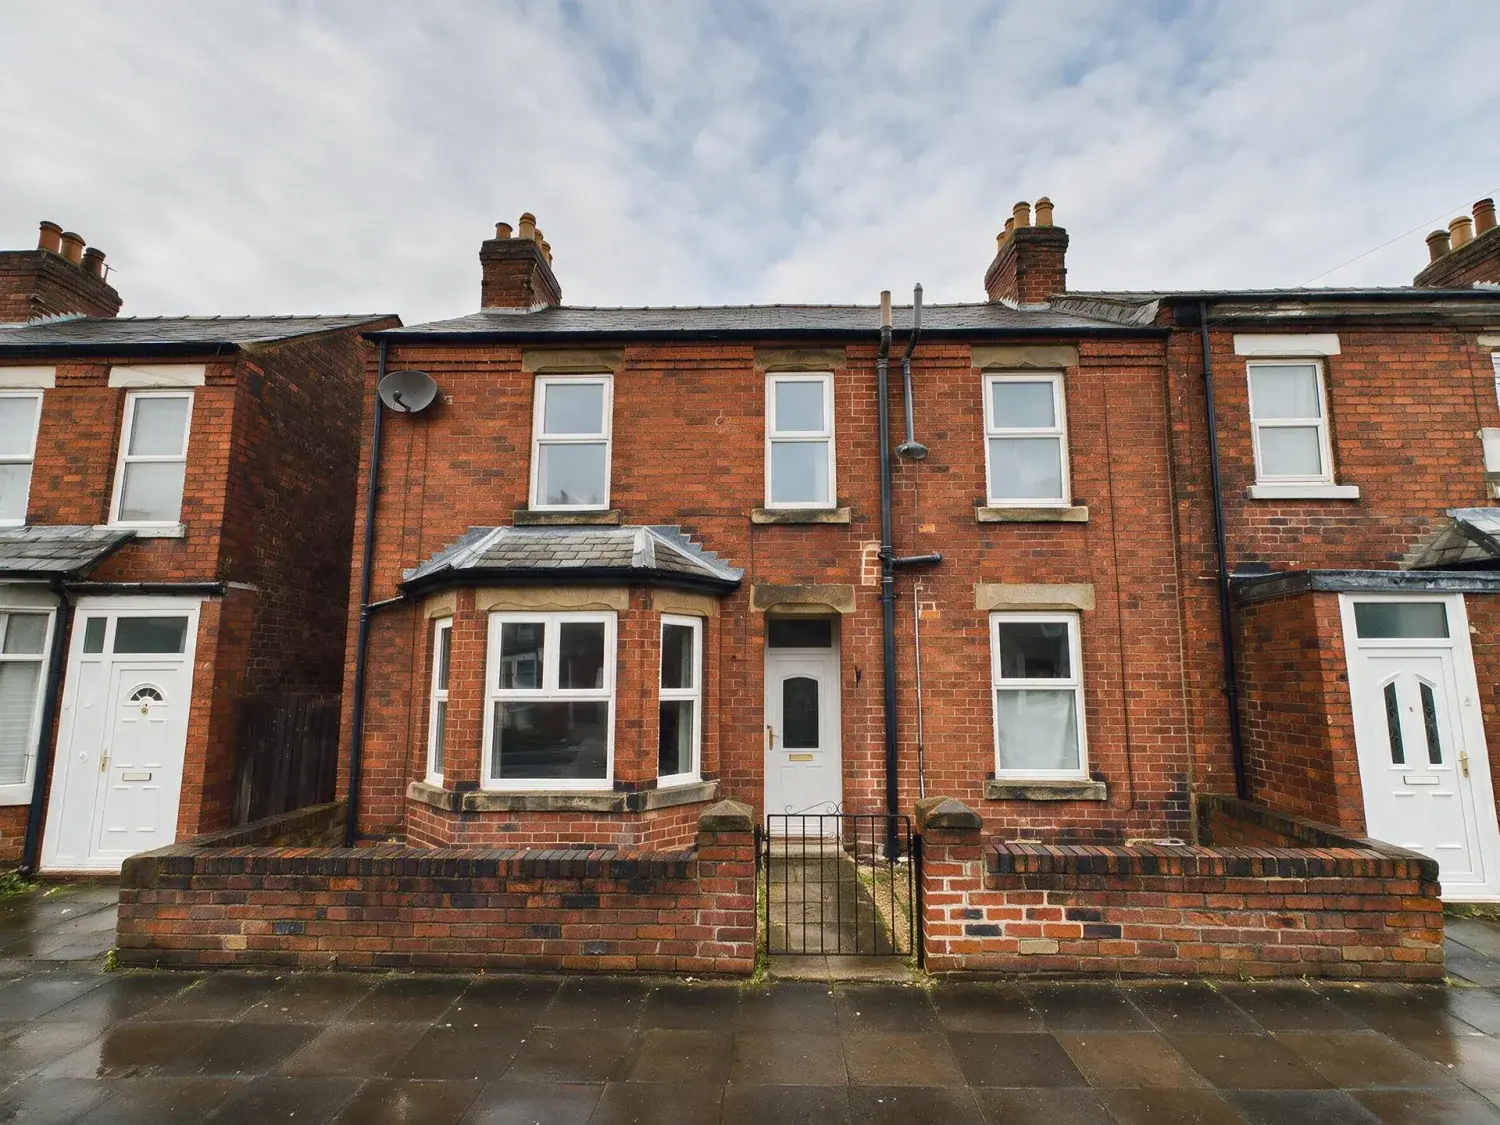
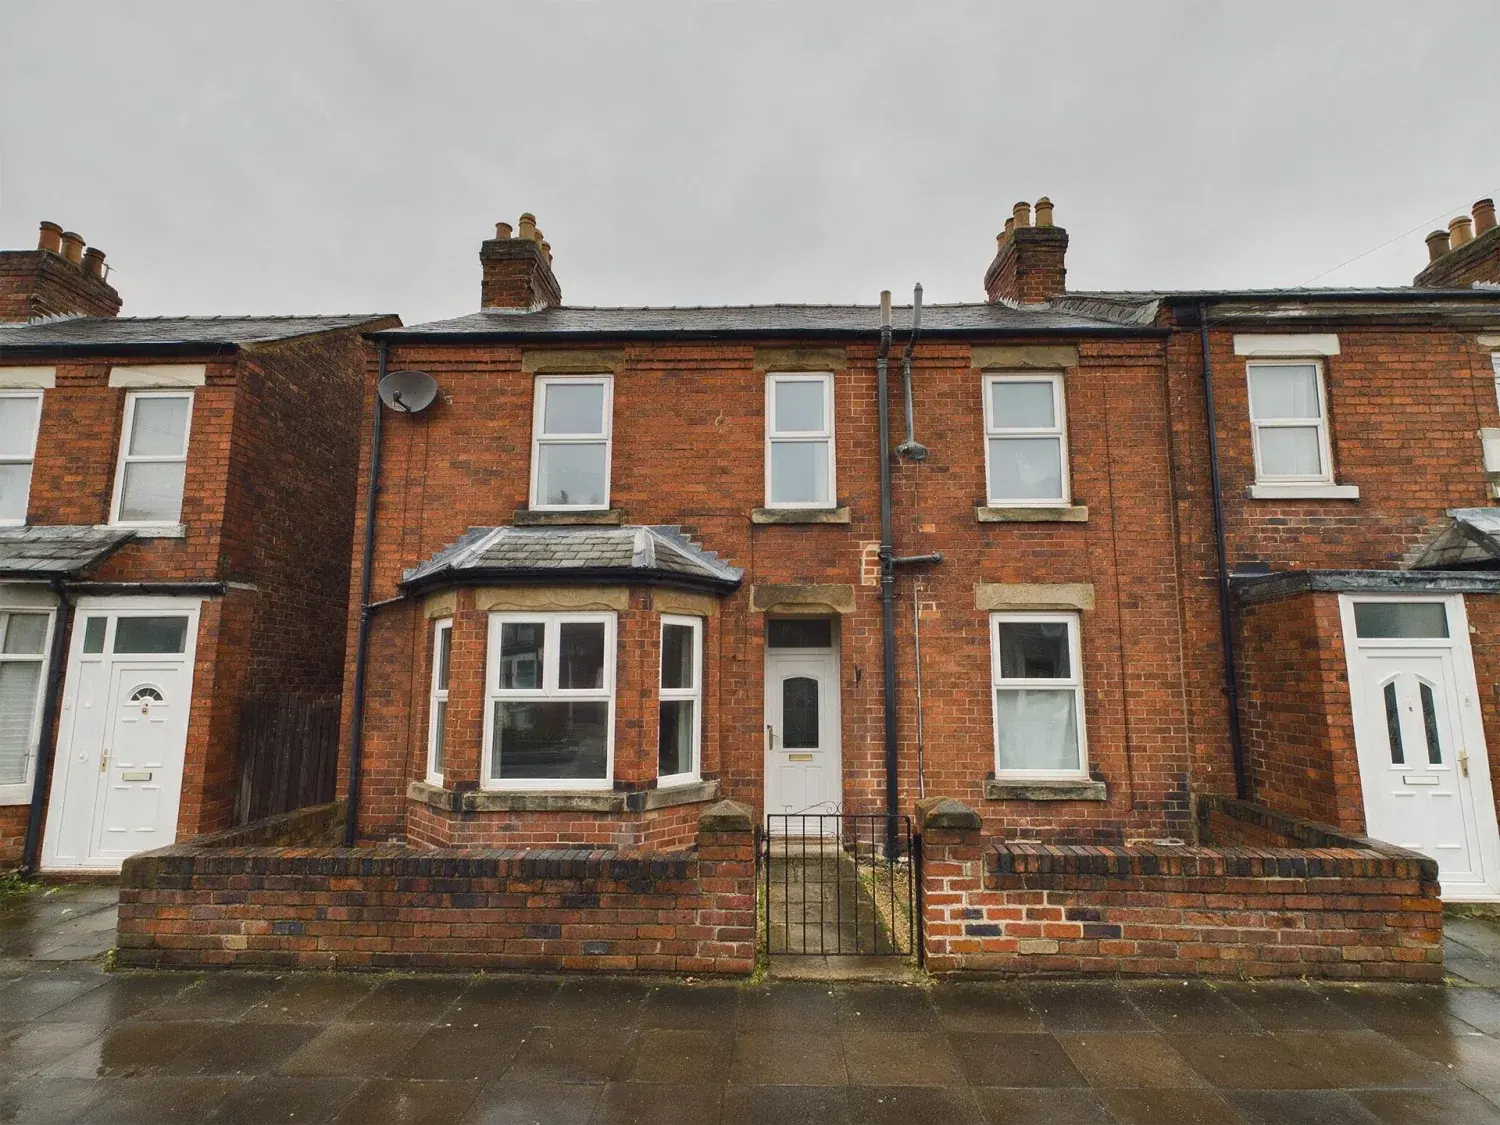
Work out which way the front of the house faces before you plan anything. In London in mid-December the sun rises after eight and sets before four, and it never climbs high, so a north-facing front gets no direct sun at all between roughly October and February. Do not wait for it. A bright, evenly overcast day is a perfectly good exterior day for a north-facing elevation — what you are avoiding is not cloud, it is the featureless white sky that comes with it. For a south-facing front, shoot mid-morning or late afternoon rather than noon, when the sun is directly overhead, the eaves throw a hard black shadow across the door and the sky above the roofline blows out. Indoors, the specific British problem is mixed light: cold daylight through the window against warm 2700K bulbs in the same frame, so one wall reads green and the other orange and no automatic white balance can satisfy both. Switch off ceiling lights that are fighting the window, keep table lamps only if you want the warmth, and never shoot straight into a window at midday.
Check which way the front faces before booking the shoot
North-facing front: bright overcast is fine, direct sun will not come
South-facing front: mid-morning or late afternoon, never noon
Interiors: kill the ceiling lights that fight the daylight
Expose for the room, not for the window
04
Prepare the house before you prepare the camera
Everything on this list is free, and none of it can be added back afterwards. Outside: check the council collection day and get the wheelie and recycling bins out of frame, move cars off the drive, ask the neighbour if theirs is parked across your frontage, and coil the hose away. Sweep the path, and cut the grass two days before rather than the morning of. Inside, work in shooting order. Hall: shoes, coats, post, buggies. Kitchen: clear every worktop down to two objects, take the magnets, calendars and tea towels off, and hide the bin. Bathroom: toiletries away, lid down, one matching set of towels. Living rooms and bedrooms: beds made properly, cables tucked, and personal photographs taken down — partly because buyers look at faces instead of the room, partly because anything with a name or an address on it is going onto a public website. Take the Christmas tree down before you photograph, even in January: a seasonal frame tells a buyer in March that the property has been sitting.
Bins, cars and hoses out of every exterior frame
Worktops down to two objects; bathroom surfaces clear
Family photographs and anything showing a name or address removed
No people, no pets, and check mirrors and dark TV screens for your reflection
Nothing seasonal — a visible tree dates the listing for months
05
The four things you cannot shoot around, and what each costs to fix
Careful shooting removes most problems, and four survive it. Leaning verticals, from the tilt you could not avoid in a tight room: Perspective Fix straightens converging walls and levels the horizon, cropping minimally to square the frame, so frame slightly loose to give it room to work. Flat grey sky with no structure in it: Sky Swap replaces the sky region and rematches the light on the building, with clear blue, soft clouds, golden hour or dramatic storm to choose from. It works on exteriors only, and it will not invent hills, a skyline or a horizon that was never in the frame. Clutter the seller will not move: Clutter Removal rebuilds the surface behind the objects you name, and only those, so describe each one — anything you leave out stays put. Dead midday light on the cover shot: Day to Dusk warms the windows from within and puts the facade into golden or blue hour without moving any part of the building. Each costs exactly one credit, whichever tool, and each render takes about two minutes. Upload JPEG, PNG, WebP, HEIC or camera raw — the iPhone file works as it comes off the phone, and a raw is read for the full-size JPEG the camera already wrote inside it rather than developed — and what comes back is JPEG at quality 92, about 2.4K.
Perspective Fix — leaning verticals; it crops slightly, so shoot loose
Sky Swap — exterior only; will not add scenery that was never there
Clutter Removal — name each object; unnamed items stay
Day to Dusk — golden or blue hour on a flat midday exterior
One credit per image, whichever tool; about two minutes per render
In: JPEG, PNG, WebP, HEIC and camera raw — raw read as its embedded JPEG, not developed. Out: a JPEG at quality 92, about 2.4K
$49 / 100 images, $99 / 220, $249 / 600 a month, in US dollars
Batch 10, 50 or 150 photos; ZIP download on Pro and Agency
Credits reset each period — they do not roll over, so a one-house seller should cancel
06
What UK law lets you change in a listing photograph
Start with what the tool refuses to do: the engine is instructed never to remove, soften or conceal a defect, stain or crack, so a damp patch stays a damp patch. That is the correct behaviour, because it is exactly the line the law cares about. The unfair commercial practices provisions of the Digital Markets, Competition and Consumers Act 2024, which took over from the Consumer Protection from Unfair Trading Regulations 2008 in April 2025, sit on traders — so if an estate agent is marketing the house, a materially misleading photograph is the agent's exposure, alongside The Property Ombudsman's code of practice and National Trading Standards' material information guidance for listings. Selling privately does not remove the problem, it moves it into the contract, where a misleading impression becomes a misrepresentation question between you and your buyer. Draw the line at material fact. Replacing a grey sky, straightening walls, moving a wheelie bin: cosmetic. Removing a pylon, a mast, a neighbouring extension, a boundary or a defect: not. Every export carries XMP disclosure metadata naming the operation, the engine and the timestamp, and staging can carry an optional visible "Virtually Staged" label.
DMCC Act 2024 unfair commercial practices replaced the CPRs 2008 in April 2025
The agent is the trader; a private seller's exposure runs through the contract
Cosmetic is fine — sky, verticals, bins. Material fact is not
Defects are never removed or softened, by design
XMP disclosure in every export; optional visible staging label
No floorplans, EPC graphs, video or virtual tours — and no API
For this region
Local questions, answered
How do I take photos for selling a house?+
Shoot landscape, on the main 1x lens, from a corner of each room at about chest height with the phone held dead level. Work in the order a buyer walks the house: front elevation, main reception, kitchen, remaining receptions, bedrooms largest first, bathroom, garden. Two frames per room and 12 to 20 in total is the right shape for a UK listing. Prepare before you shoot rather than after — bins and cars out of the exterior frames, worktops cleared, personal photographs down. Set iPhone Camera > Formats to Most Compatible first so you are shooting JPEG, which is what Rightmove asks for.
How do I take good photos for selling a house, rather than merely usable ones?+
Three things separate them. Straight verticals: the moment you tilt the phone up, walls converge and the room reads as amateur, so keep the grid on and the phone level even if it means missing the ceiling. Consistent colour: mixed daylight and warm bulbs in one frame is the standard British interior failure, so switch off ceiling lights that fight the window. And a sky with structure in the exterior shot, because a blank white sky flattens the whole frame. If you get the framing and the preparation right in the field, the remaining problems are the four that can be corrected afterwards for one credit each.
How do I do property photography if I am not a photographer?+
Treat it as a checklist rather than a craft. Decide the shooting order before you start; prepare each room fully before the camera comes out; stand in the corner, hold the phone level at chest height, and take two frames of everything. Shoot exteriors on a bright overcast day or in the couple of hours before sunset, never at noon. Do not use the ultra-wide lens as a default. Check every frame at full size before you leave the room, looking specifically for your own reflection, leaning walls, and anything in shot with a name or address on it.
How much should you charge for property photography in the UK?+
There is no published rate card, because UK property photography is priced per instruction rather than per hour, and the number has to absorb travel, an hour or two on site, and the editing afterwards. Price it as a fixed fee per property, banded by size and travel distance, with named extras for floorplan, EPC, drone and twilight work, and be explicit about the licence — high-street agencies expect usage for the duration of the instruction, not outright copyright. For comparison at the editing end only, Plotpane costs one credit per image and the monthly plans work out between roughly $0.41 and $0.49 an image depending on tier, less on annual billing.
Who pays for the photos when selling a house?+
With a high-street agent, photography is normally bundled into the commission rather than invoiced separately, which is also why you rarely get to choose the photographer. Online and fixed-fee agents include a photographer in the package, though the number of images and whether a floorplan is included varies by tier. Selling privately, the cost is yours, and it is the reason most private sellers shoot the house themselves. Note that photographs commissioned by your agent are usually licensed to them rather than to you, so if you switch agents mid-instruction do not assume you can reuse the existing set.
How do I prepare a house for sale before the photographs?+
Start outside, because the front elevation is the search tile: bins away, cars off the drive, path swept, grass cut a couple of days beforehand. Then work room by room in shooting order. Clear worktops and bathroom surfaces completely, put away shoes, coats and post in the hall, make the beds, tuck cables, and take down family photographs. Open curtains and blinds fully. The wider preparation — a valid EPC before the property is marketed, decluttering, touching up the paint the buyer will look at — is worth doing before the shoot, not after, because reshooting is a second appointment.
Should you take down family photos when selling a house?+
For the photographs, yes, and for two separate reasons. Buyers look at faces, so a wall of family portraits pulls attention away from the room you are actually selling, and it makes the house read as somebody else's home rather than a place they could live. The second reason is more practical: listing photographs are published on a public website and stay indexed long after the sale, so anything showing names, faces, addresses, post or school paperwork should be out of frame. Take them down for the shoot; you do not have to keep them down for viewings.
Pricing
One credit per image. Every tool, every plan.
Three plans. Every tool unlocked on all of them. Every render unmarked, standard or high resolution, cancel anytime.
Every plan starts with 3 free renders. No card until you subscribe.
Starter
For the solo agent shooting their own listings.
$39/month
billed yearly
100 credits monthly
100 images per month — 1 credit each, whichever tool you use
No Plotpane mark on any render
Every tool, no tier gating
Standard output ~2.4K, or ~4.7K for a second credit
XMP disclosure metadata written into every export
Download a finished listing as a ZIP
Free vertical listing reel from your finished photos
Cinematic clips from a single photo — 1 credit per second of video
That is the whole pricing model. No per-tool rates, no seat maths, nothing to negotiate. We are not SOC 2 certified and there is no SSO, private deployment or API — if you need those to buy, better you know now than after a call.
Starter
4
listings a month
Pro
8
listings a month
Agency
24
listings a month
Questions
The usual questions, answered directly.
No. Midjourney and DALL-E invent scenes from text prompts — beautiful for art, disqualifying for a listing. Plotpane is a structure-preserving pipeline: your room geometry, windows, and floor plan stay exact. We stage, re-light, swap skies, declutter, and enhance your actual photo. No hallucinated architecture, no invented rooms.
BoxBrownie and Styldod are human-edit services: you upload, a retoucher works overnight, you get a result in 24–48 hours at $2–$32 per image per treatment. They also sell things we do not have at all — floor plans, renderings, item removal by a person who can ask you what you meant. Plotpane is one machine pass: you pick one of seven tools, and the image comes back in about two minutes for one credit, whichever tool you picked, on a flat monthly subscription. Stacking two treatments on one photo means running it twice.
Yes, when disclosed. NAR guidelines, California AB 723, and REBNY Rule 3.3 all allow virtually staged photos provided the listing discloses them. Every Plotpane export embeds invisible XMP disclosure metadata so the staging record travels with the file. You still handle the listing-remarks disclosure in your MLS portal — that's the part only you can do.
Every render is sent with a preserve list as well as an instruction. It names one operation and forbids the rest: do not touch windows, doors, walls, ceilings, floors, cabinetry or fixtures unless the instruction names them; do not remove or conceal a defect, stain or crack; do not change what is visible through glass, and never invent a view. Furniture is added to empty rooms; named objects are removed from furnished ones; sky and light are re-graded. If you do see something invented, that is a bug — report the render in the app and the credit comes back.
Yes — one click in the Stripe billing portal from your dashboard. Billing stops immediately, remaining credits stay usable through the end of the billing period, and there's no cancellation fee.
Yes — any AI-generated or AI-modified image is considered an edit requiring disclosure under NAR's standards. That's why every Plotpane export writes invisible XMP disclosure metadata by default. The flag is machine-readable by MLS tooling and survives Lightroom round-trips. You still add the disclosure line to your listing remarks; we make sure the image itself is self-describing.
The toolkit
Seven tools. One credit each.
Every one is a single structure-preserving pass: it changes what you asked for and leaves the building alone.